Project Story — Shared Driveway
Rita Paul — Shared Driveway
Rita and her neighbor shared one large concrete driveway between two homes with foundations dating to 1929. The replacement had to look right for both properties — and keep water moving away from both old foundations, not just off the surface.
Kansas City Metro area
The Problem
A shared driveway, badly deteriorated
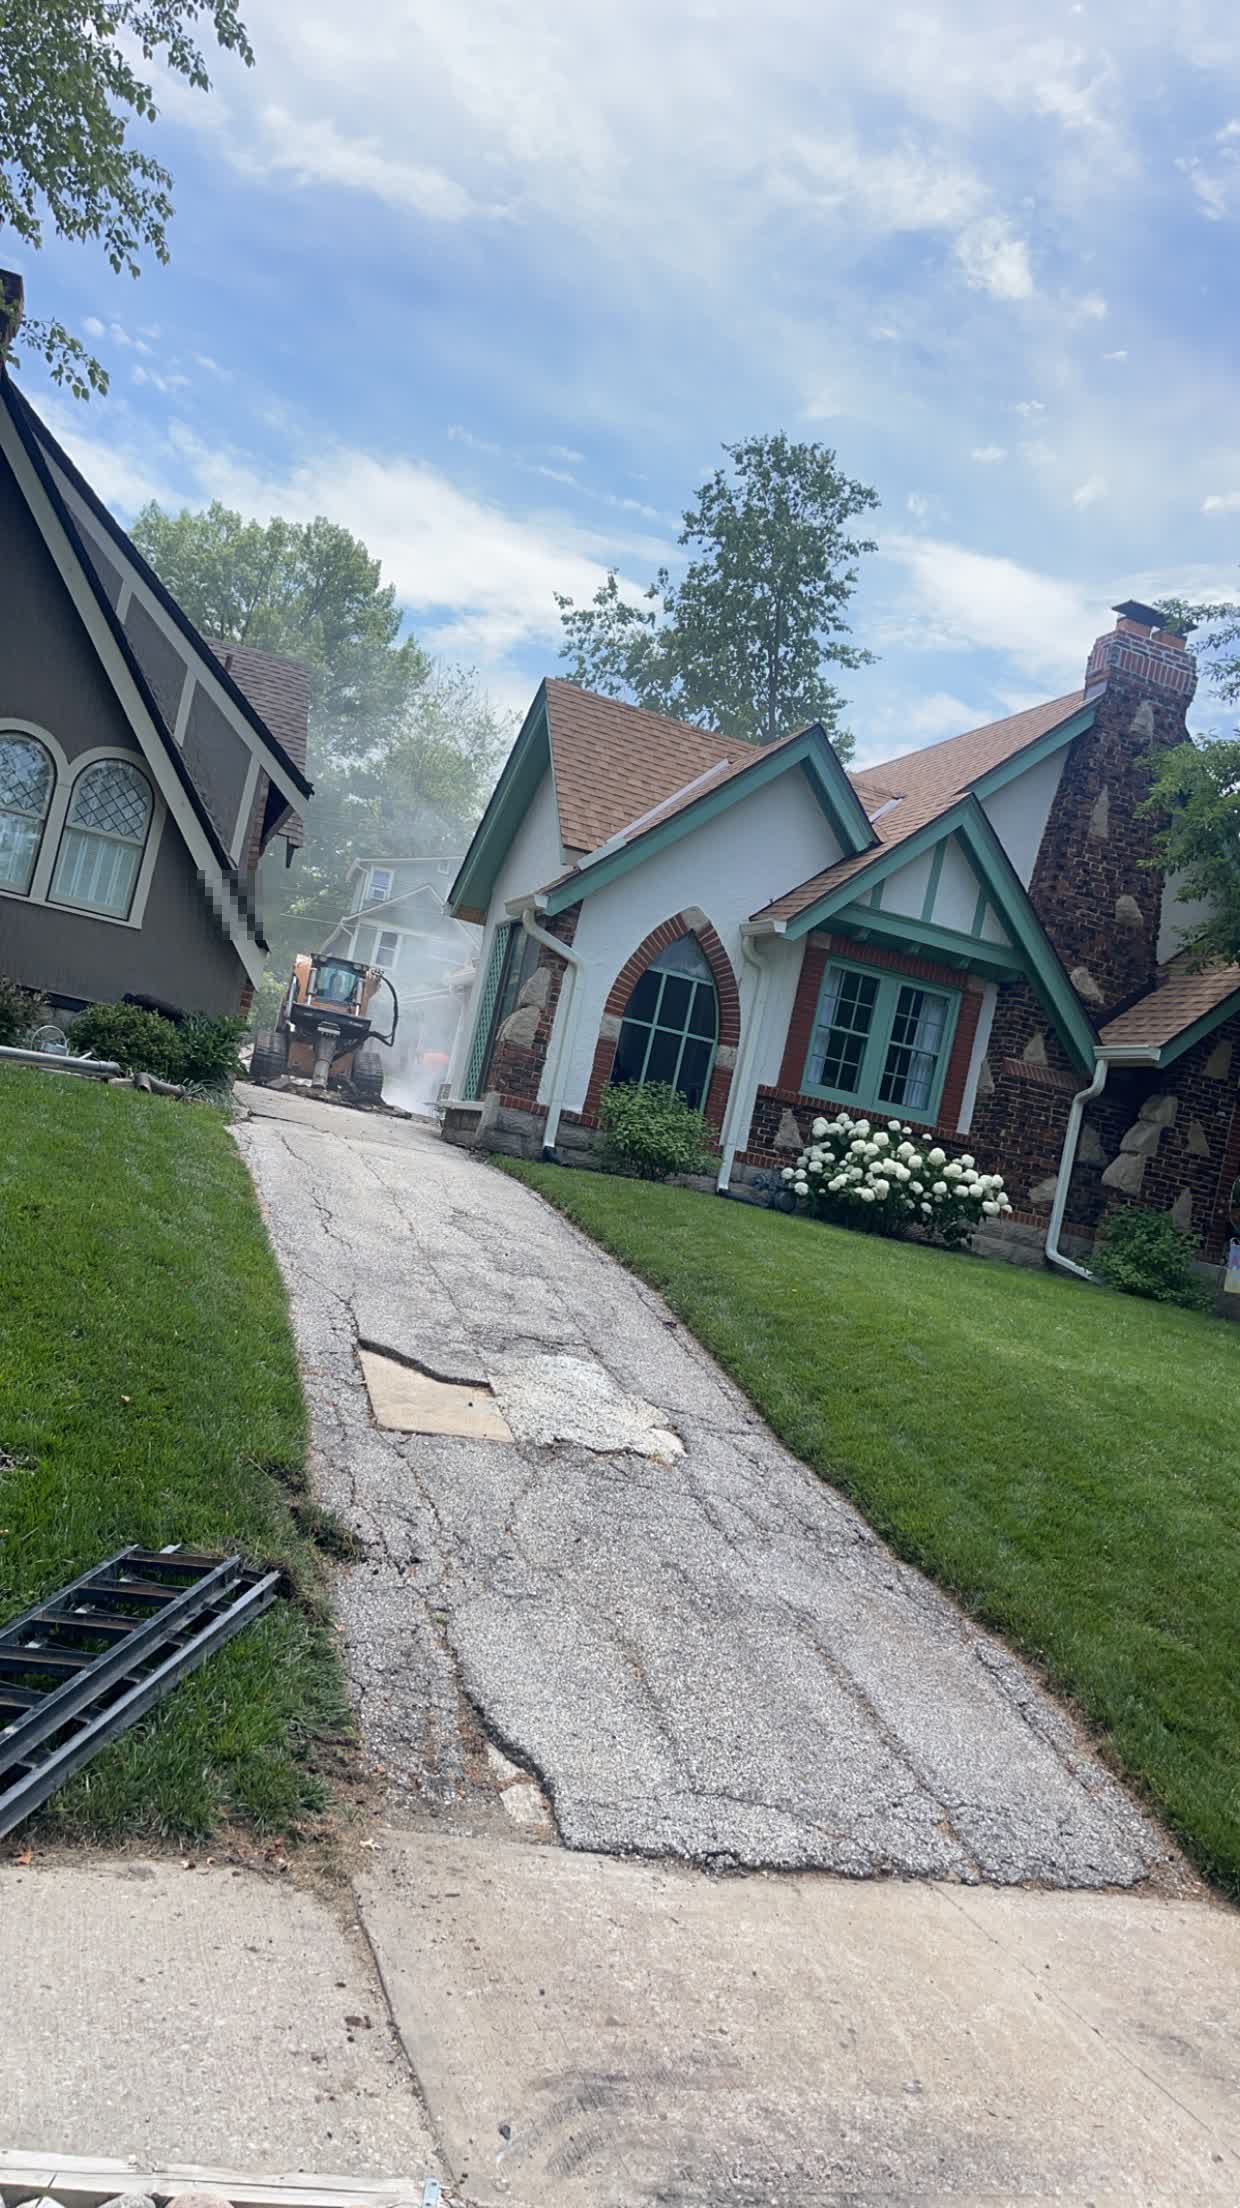
The concrete driveway shared by both homes was severely deteriorated — extensive cracking, uneven sections, and areas that had previously been covered or patched with asphalt. Both homes' foundations dated to 1929, and water behavior around them was already a concern the homeowners had been living with.
Existing Concrete Removal
Taking out what was there
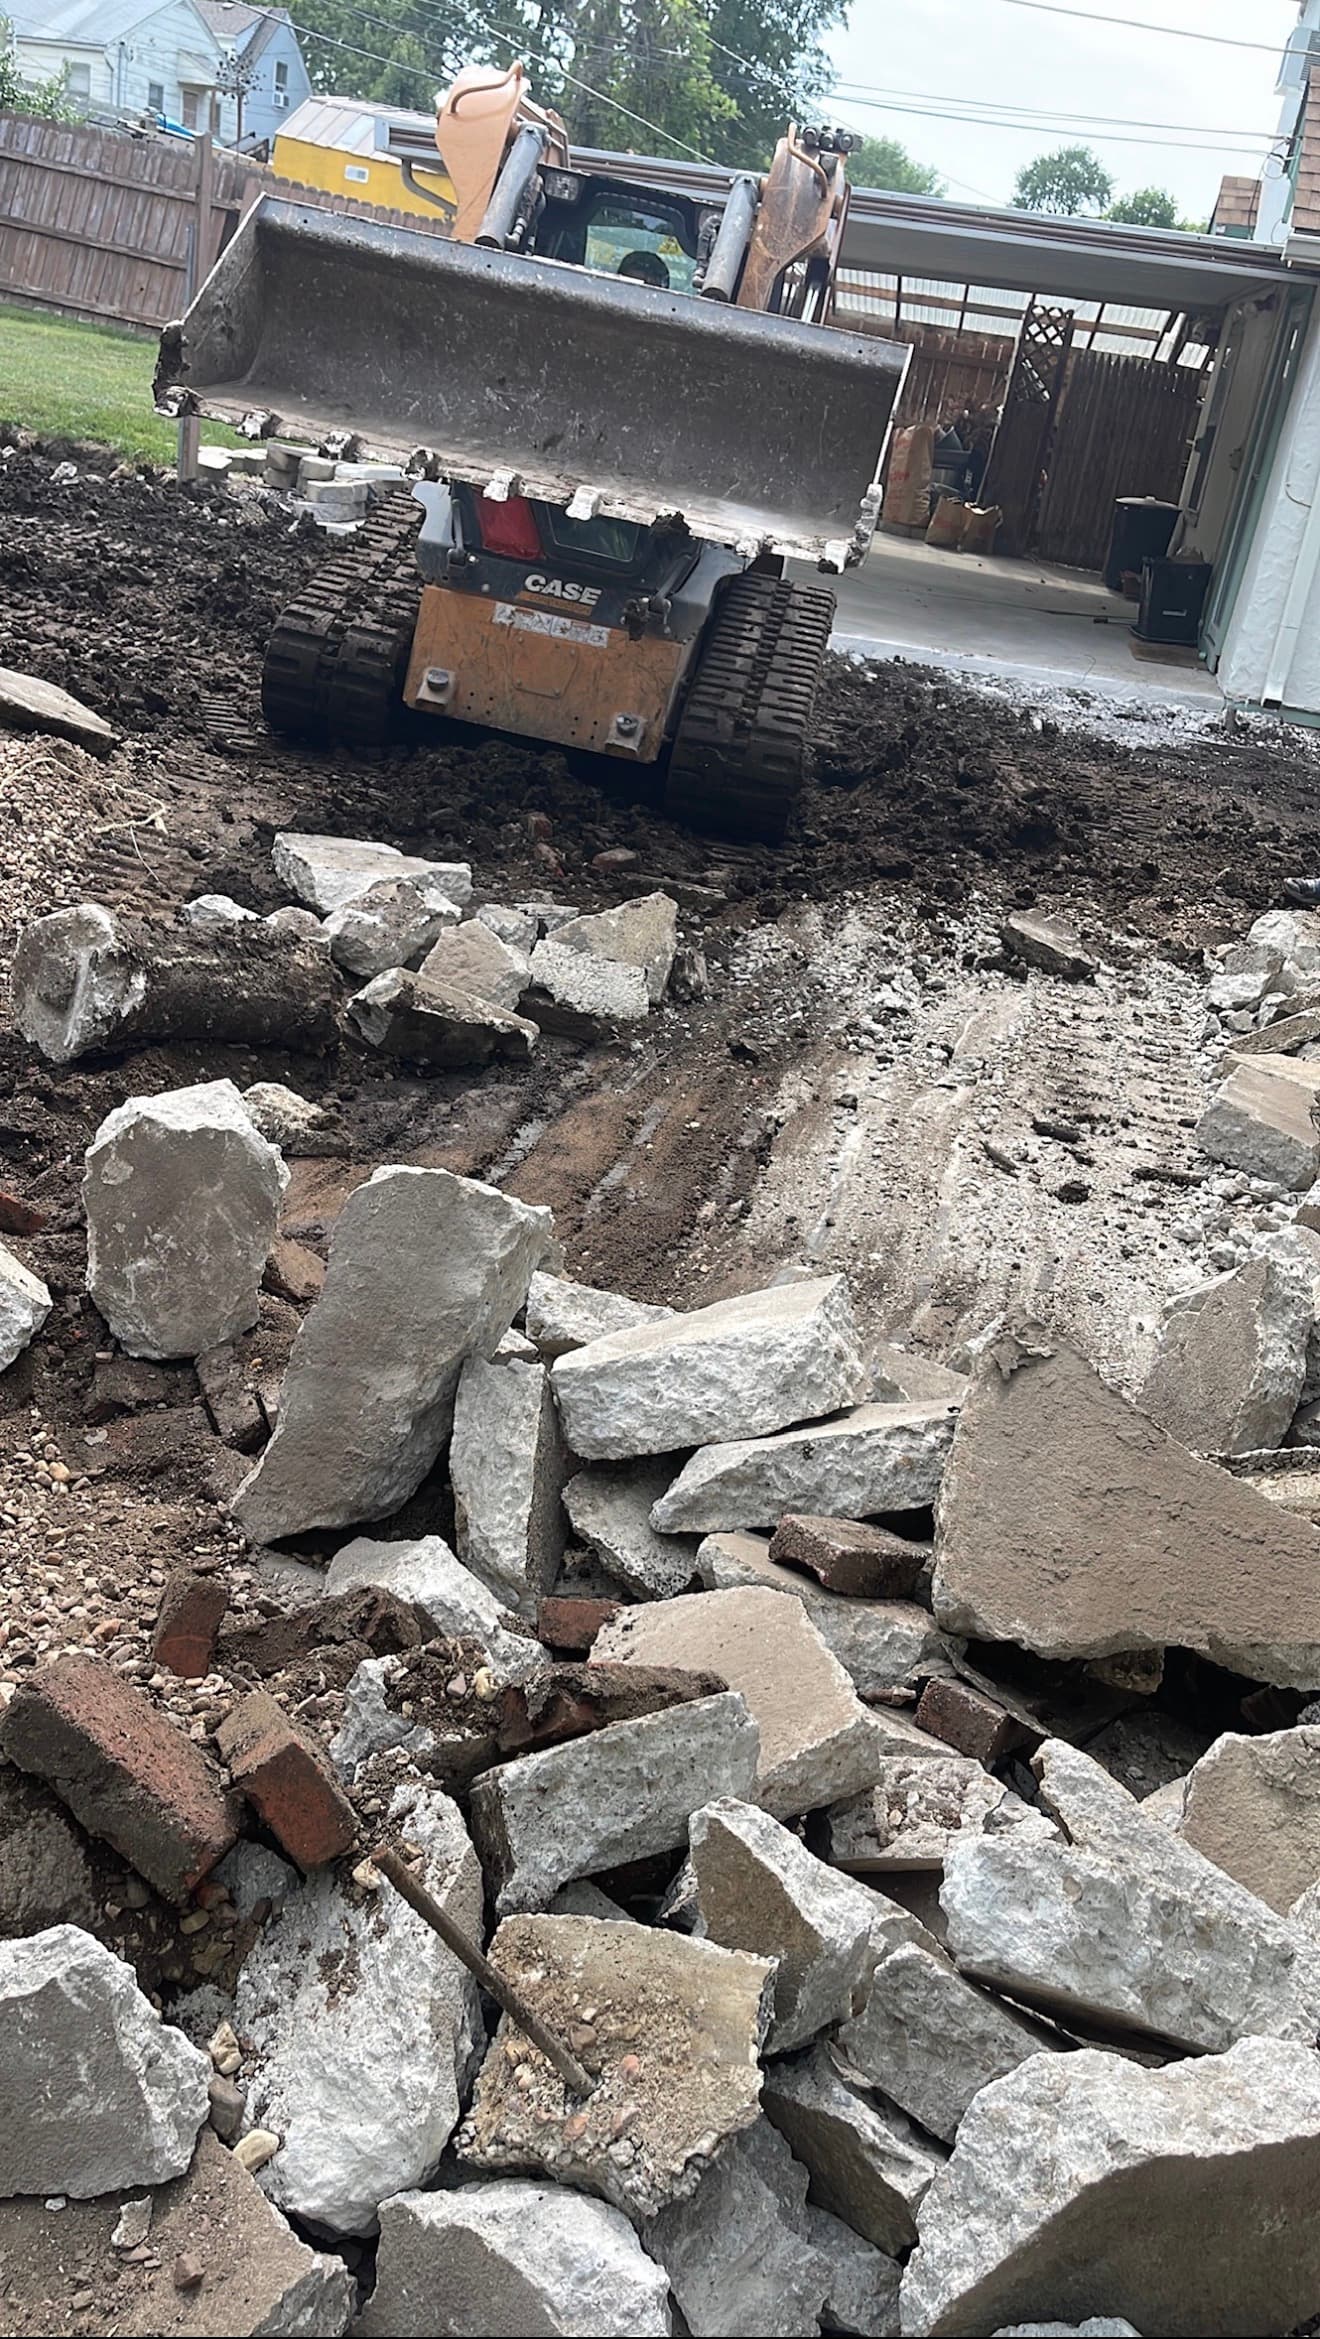
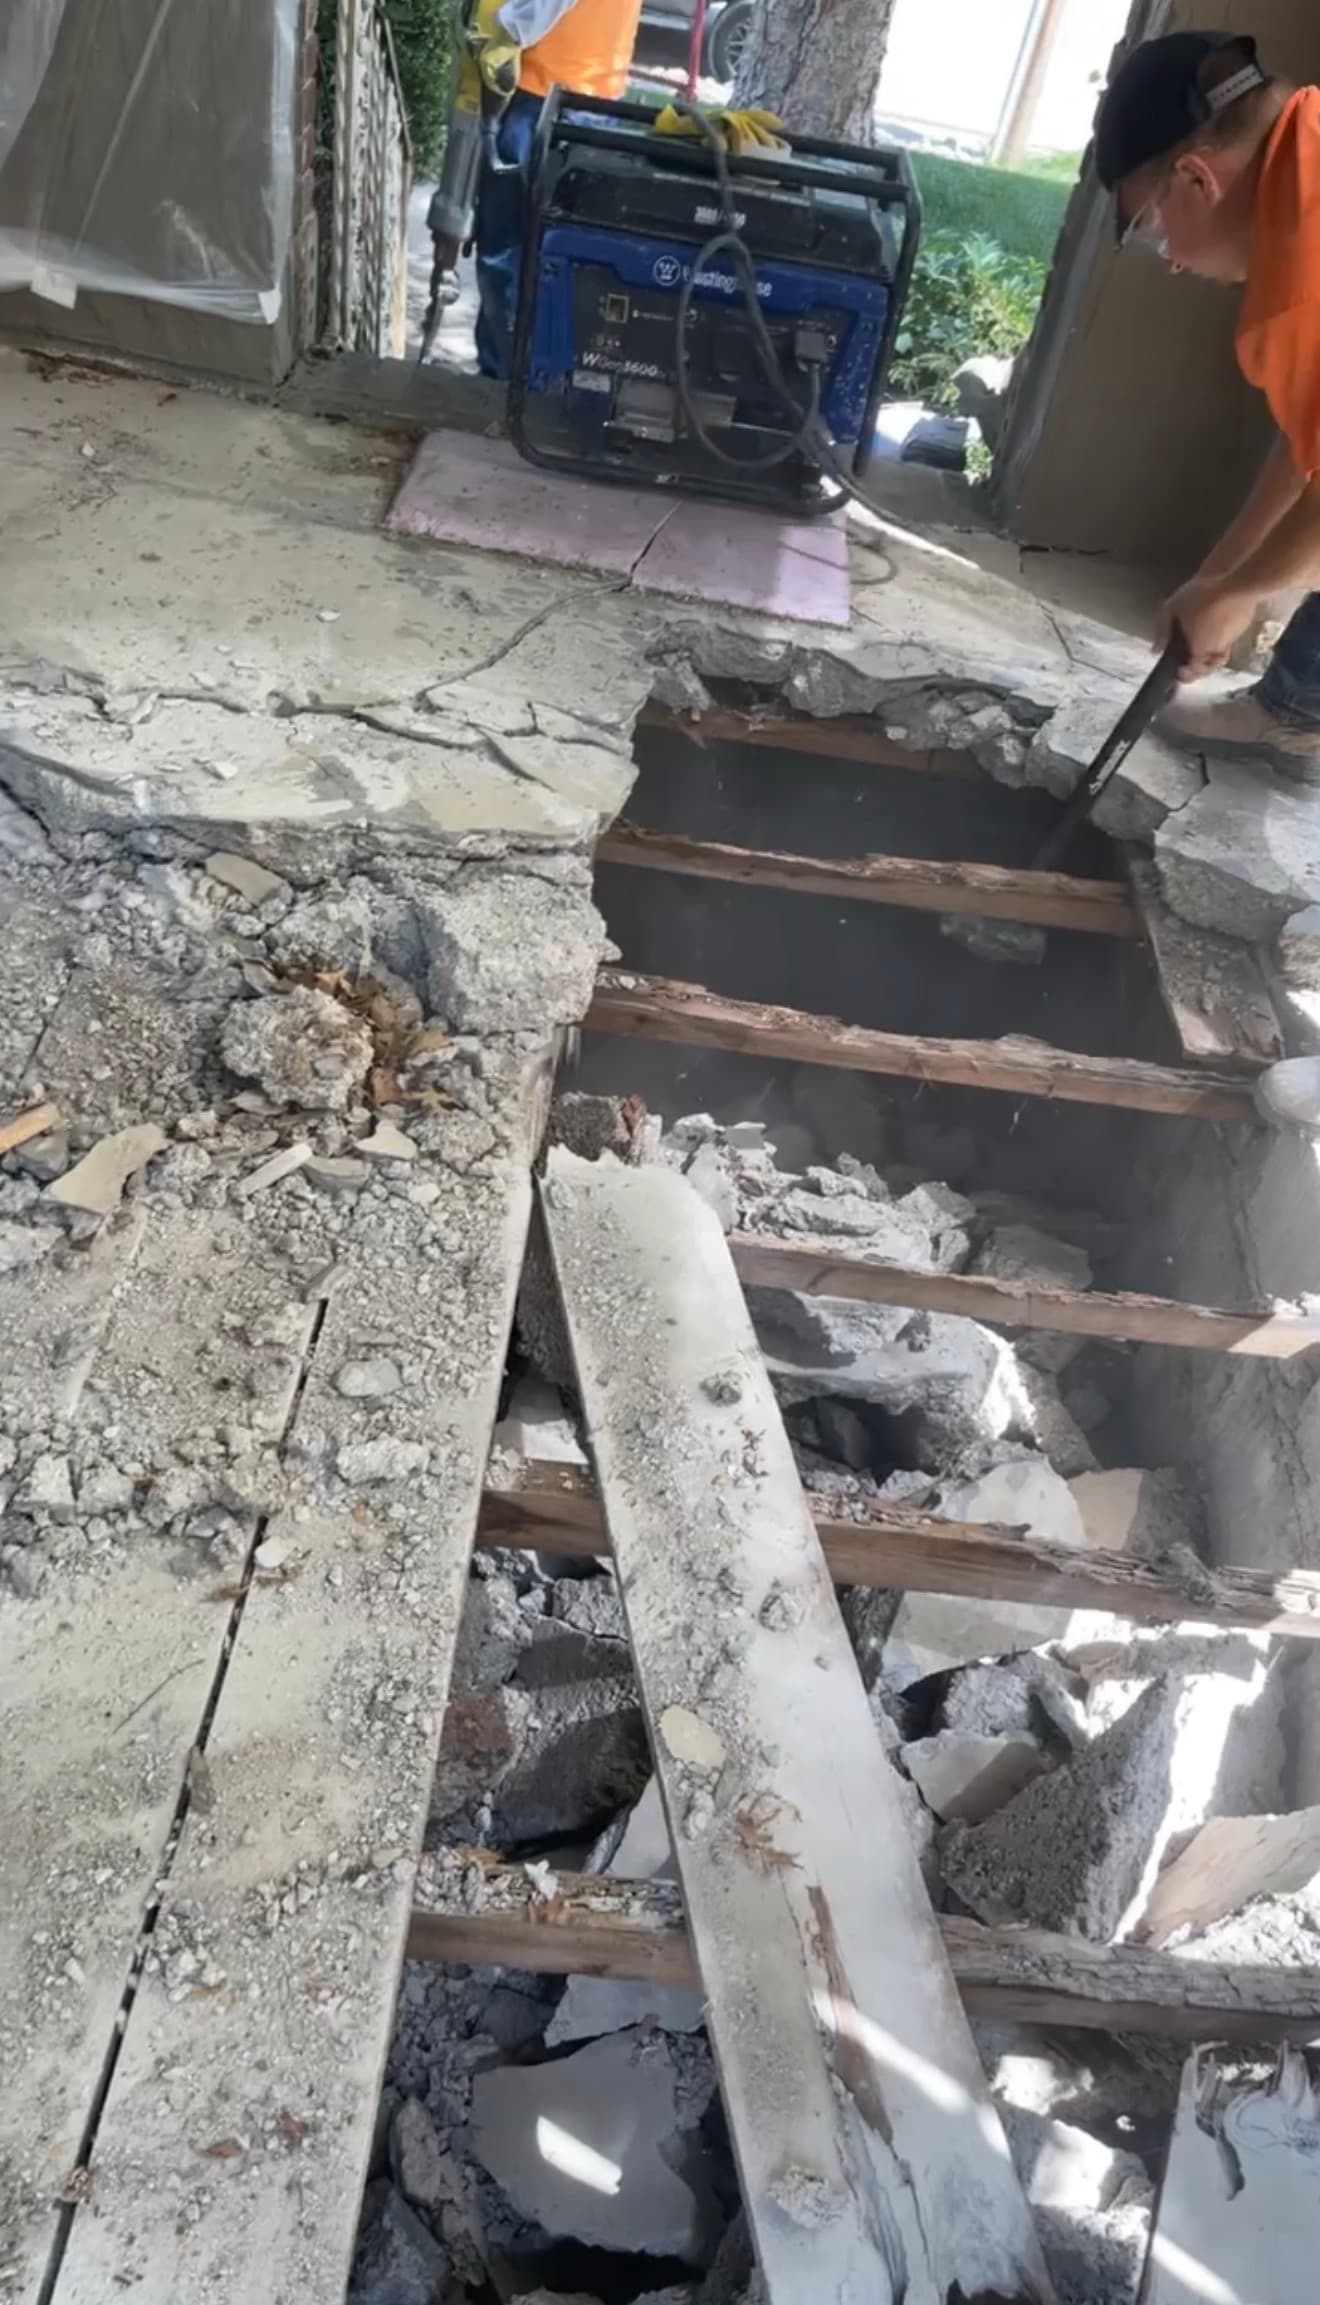
Before any of the new work could begin, the deteriorated shared driveway came out — including the sections that had been patched or covered with asphalt over the years.
What Demolition Revealed
A condition no one could see from the surface
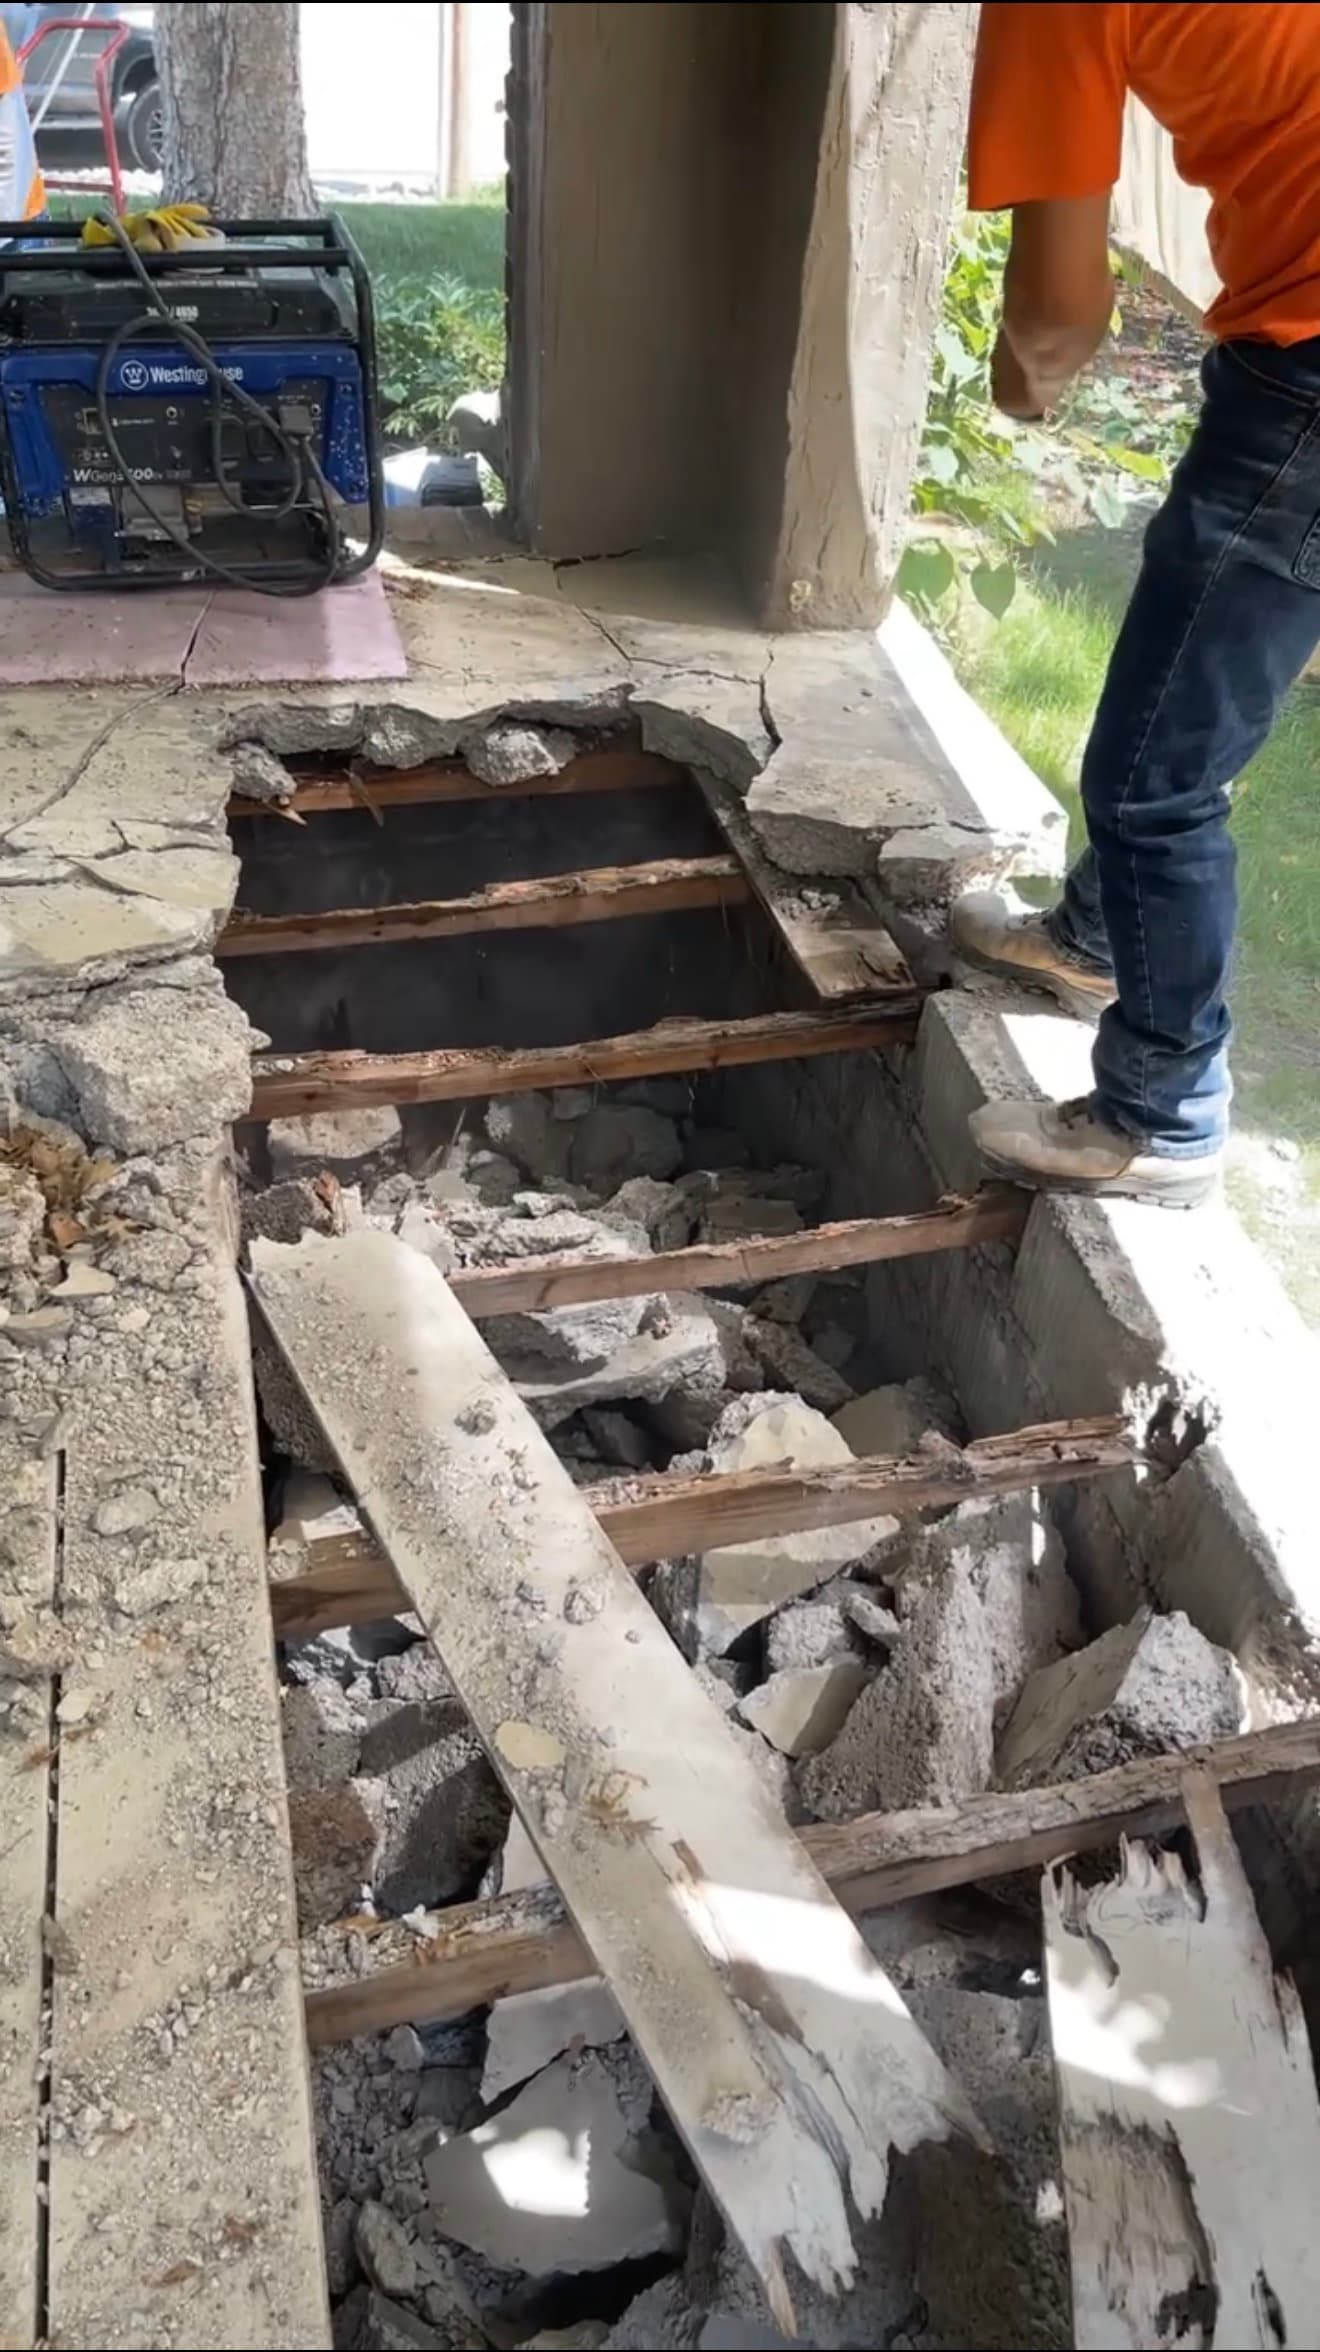
Once demolition opened the area beneath Rita's stoop, it exposed a concealed cavity with wooden support members and unsuitable support material — a condition that had no way of being evaluated before the old concrete came out. RK removed the wood and unsuitable material, then rebuilt the area with gravel placed and compacted in layers to the required elevation. Soil could have filled part of the space for less; RK used gravel through the repair instead, before it was concealed again.
The Plan
Designing the surface and the water path together
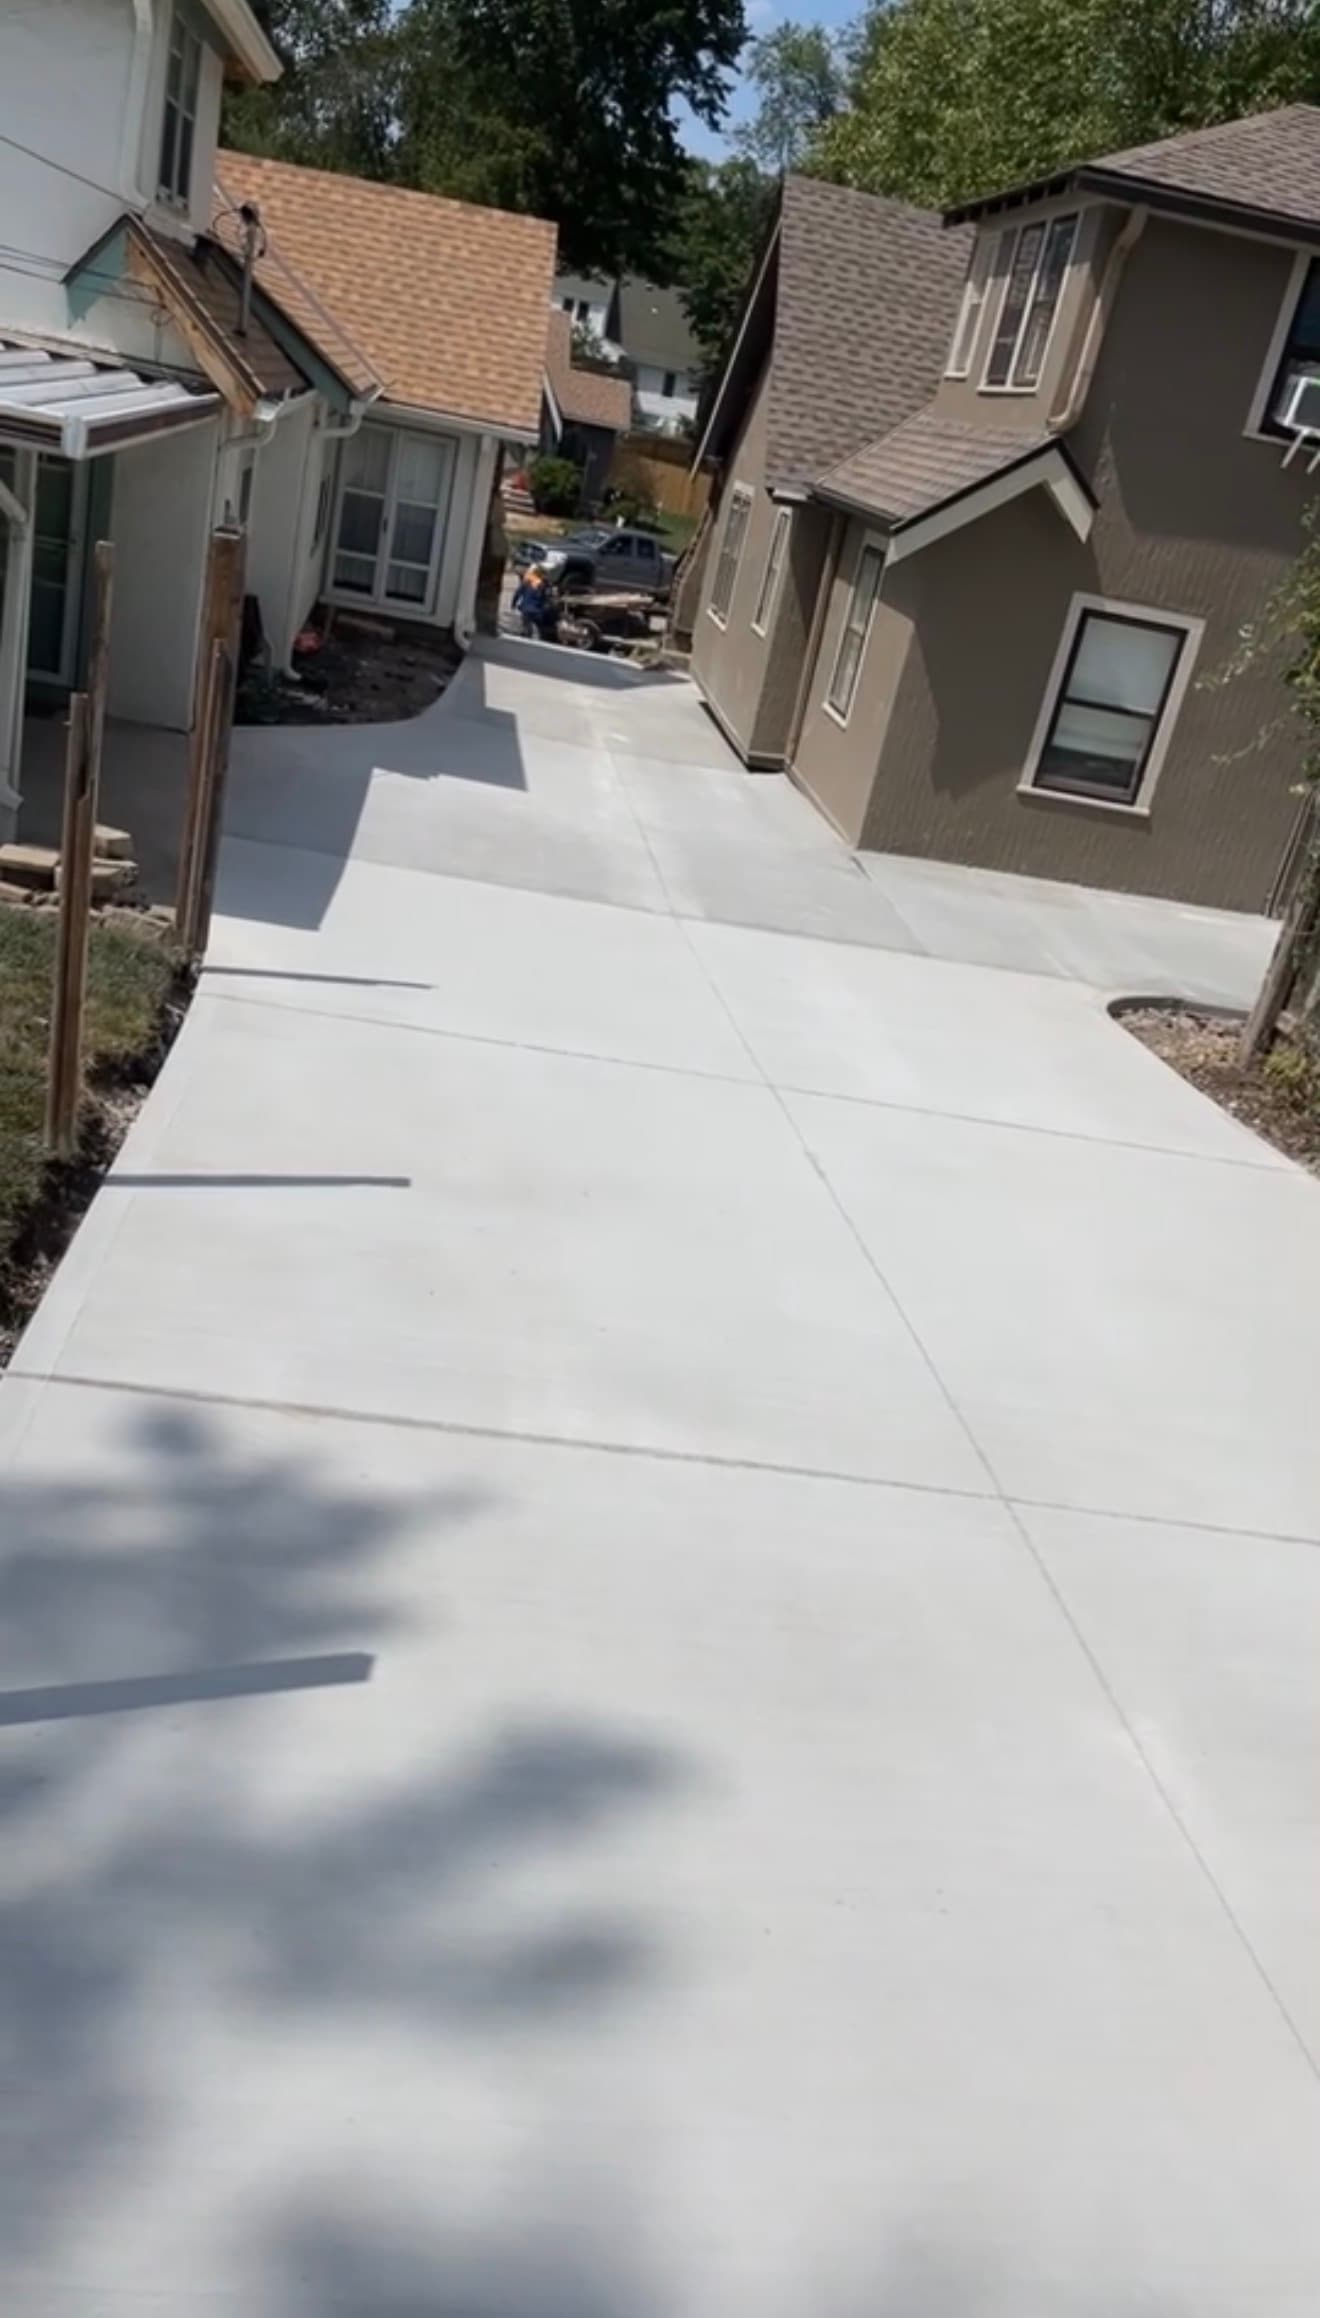
This project had one constraint the finished look couldn't ignore: two old foundations. The plan kept water away from both foundation edges, moved it toward the center of the driveway, and carried it out along the surface's own geometry toward the street and nearby municipal drain — using the site's natural elevation rather than adding a linear drain that was considered along the way. Laser-established elevation points guided the slopes and transitions the crew needed to hold that path, and the concrete went down in controlled phases so those elevations could be checked before the next phase advanced.
How It Was Built
What's underneath the finish
Most of what made this driveway work is invisible once the concrete cures. Here's what the crew actually did, in sequence.
Retaining Wall — Formwork & Reinforcement
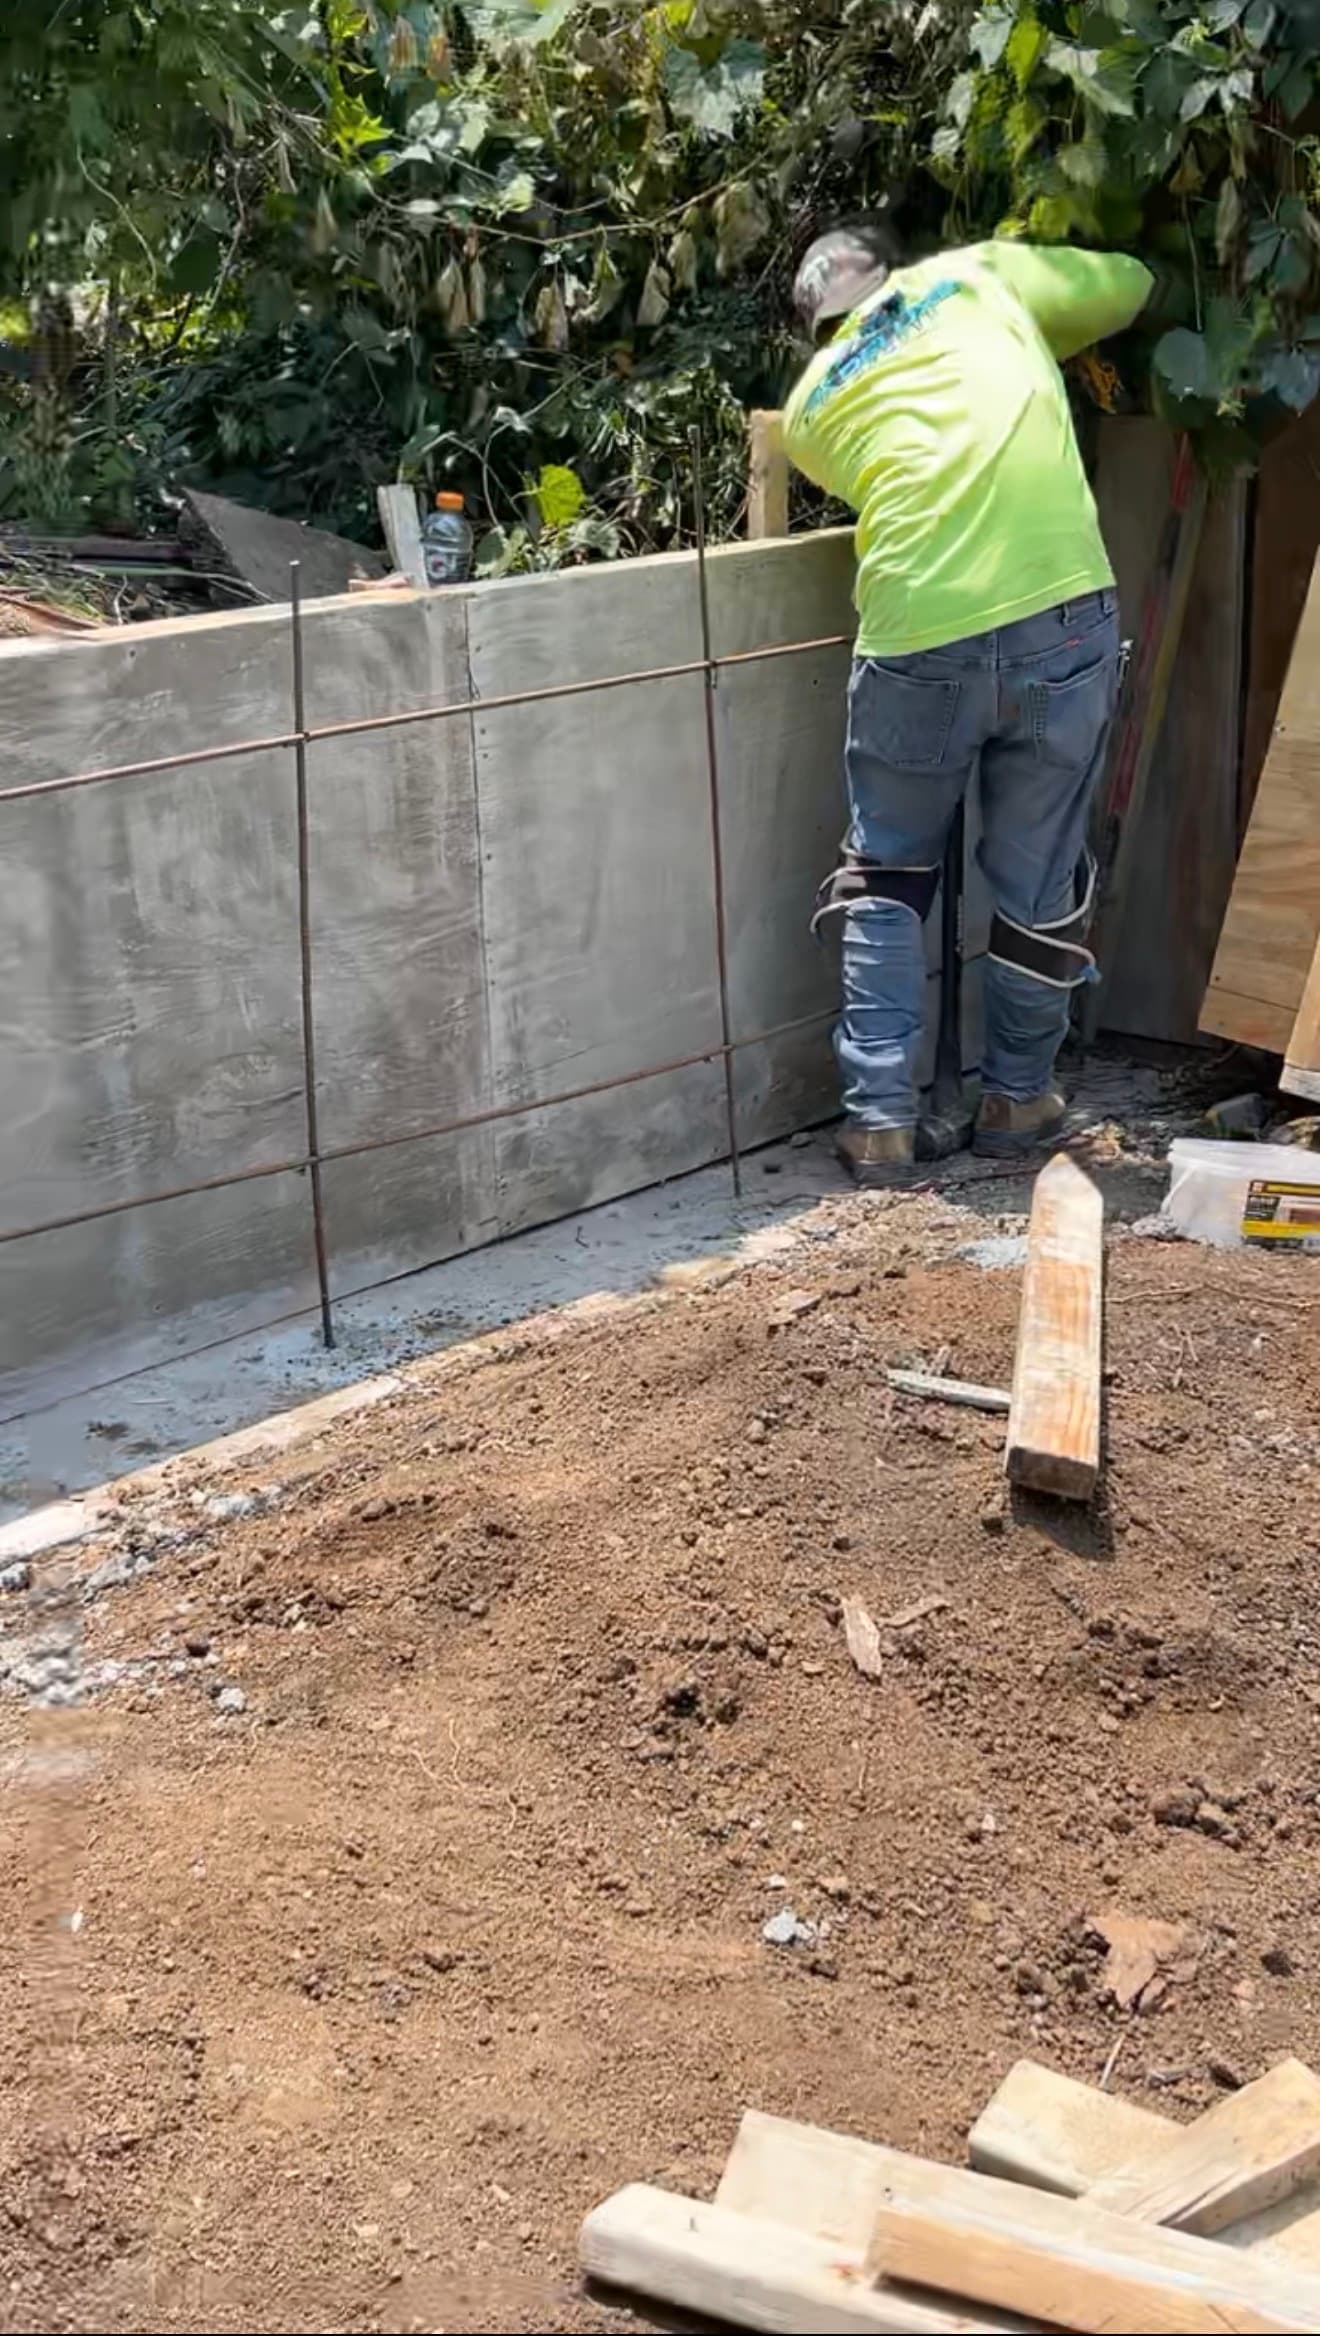
The retaining wall took shape as the crew assembled the formwork and installed the reinforcing steel, before concrete placement.
Retaining Wall — Ready for Concrete
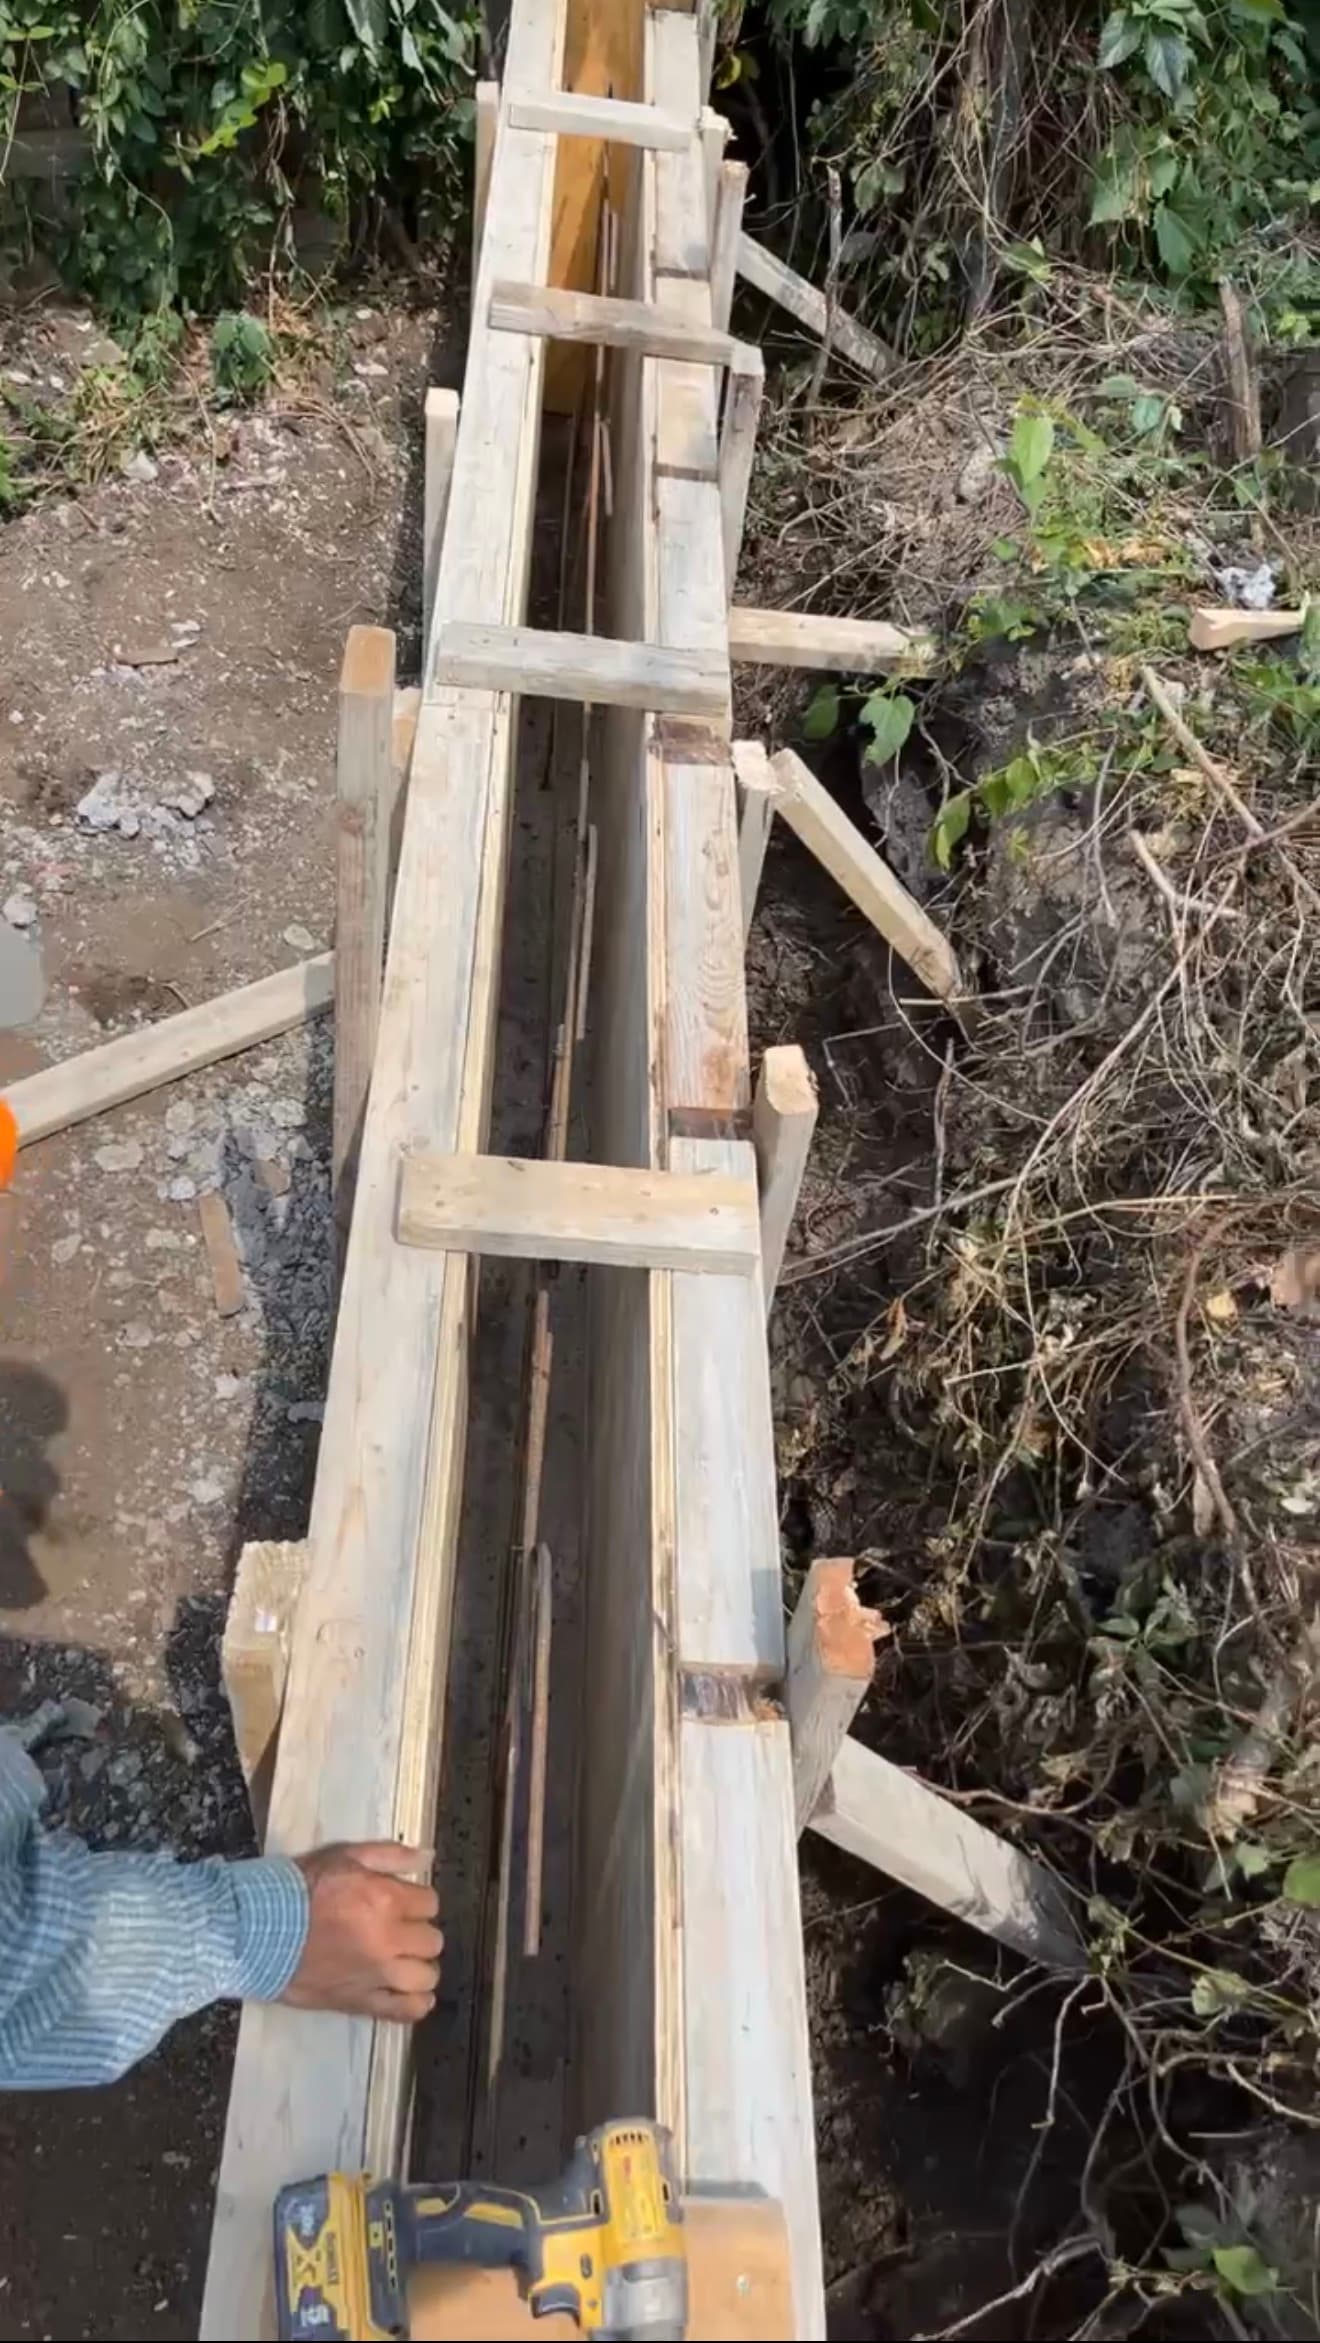
With the reinforcing steel in place and the forms assembled, the retaining wall was prepared for concrete placement.
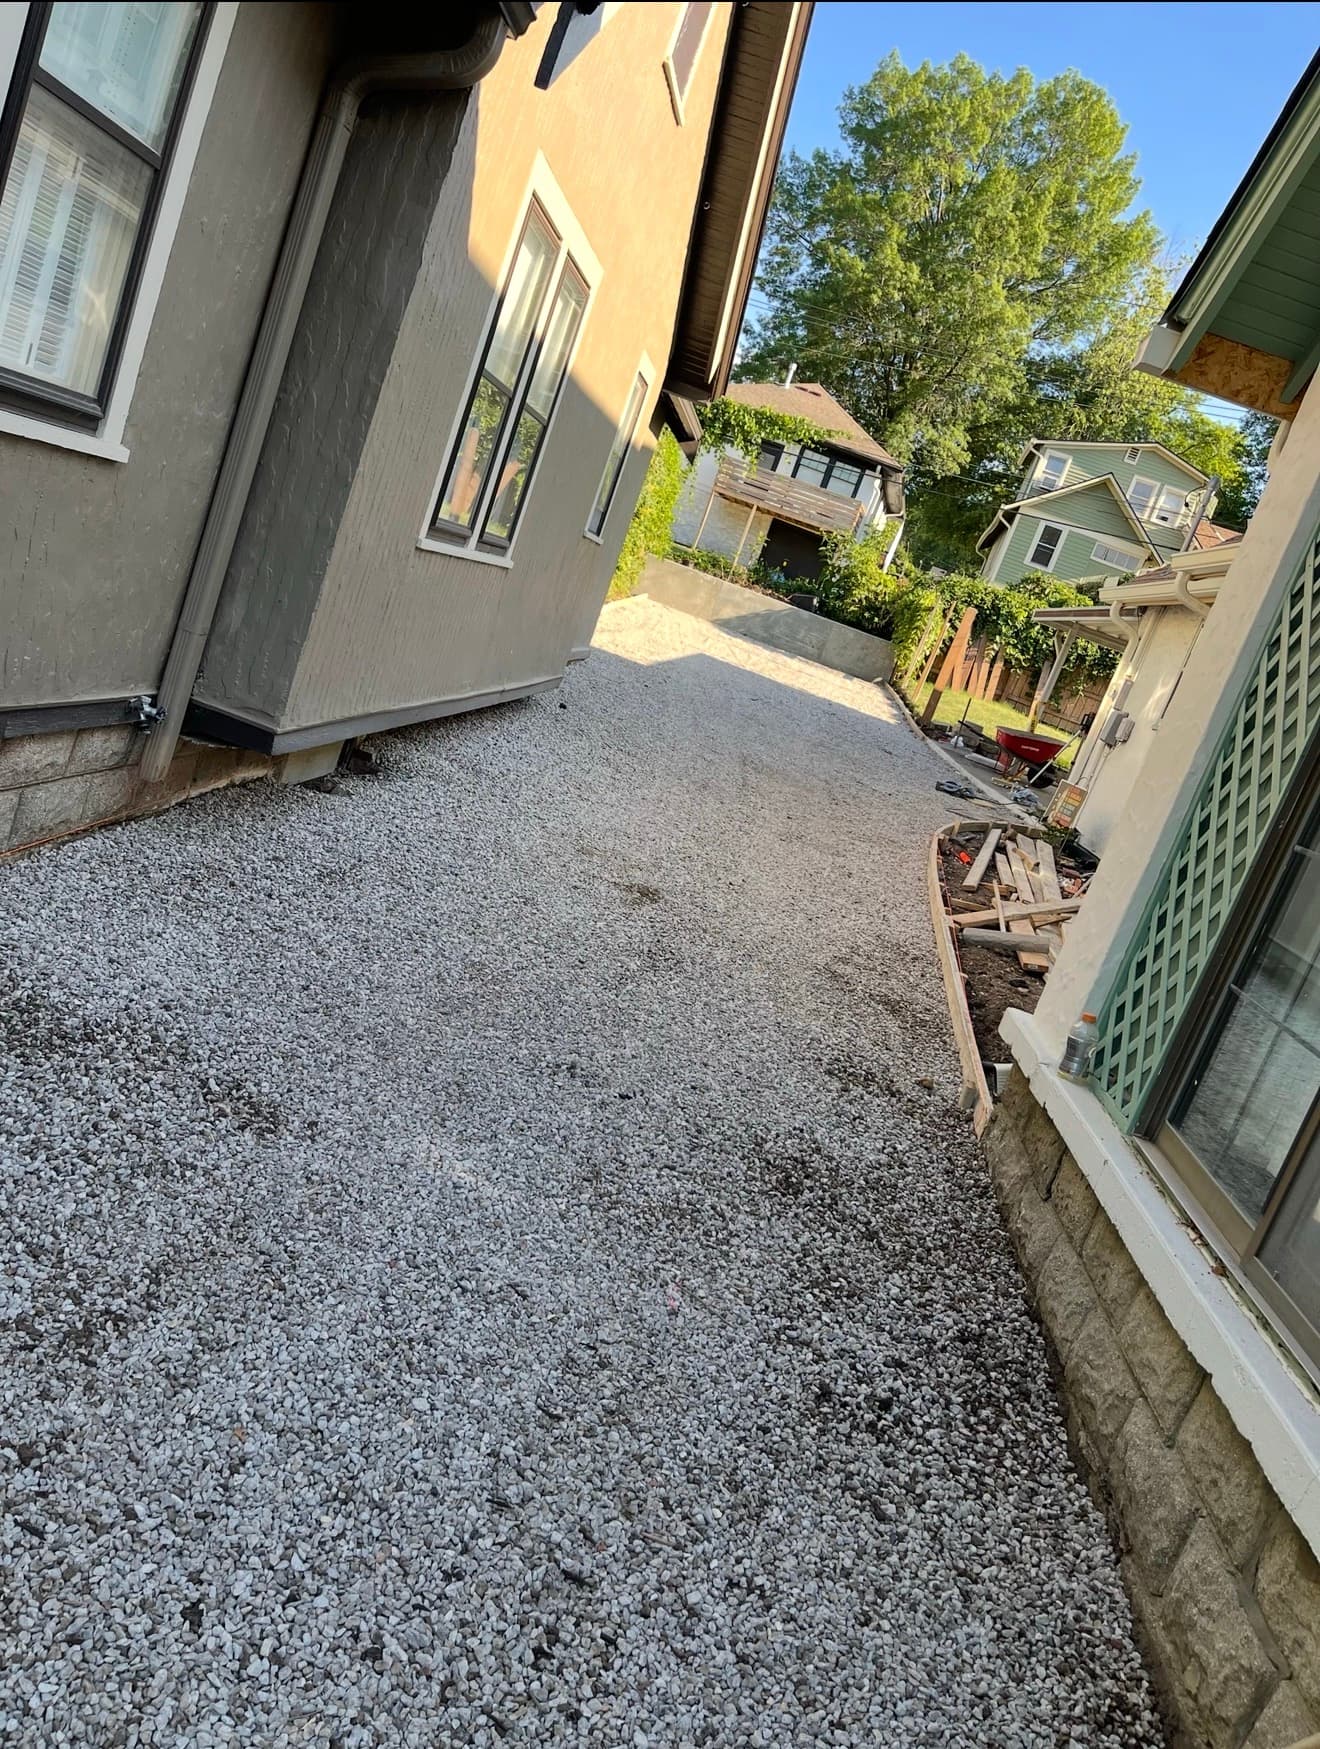
Grading & Driveway Base Preparation
With the retaining wall complete, the corridor between the two homes was brought to a compacted gravel base for the driveway.
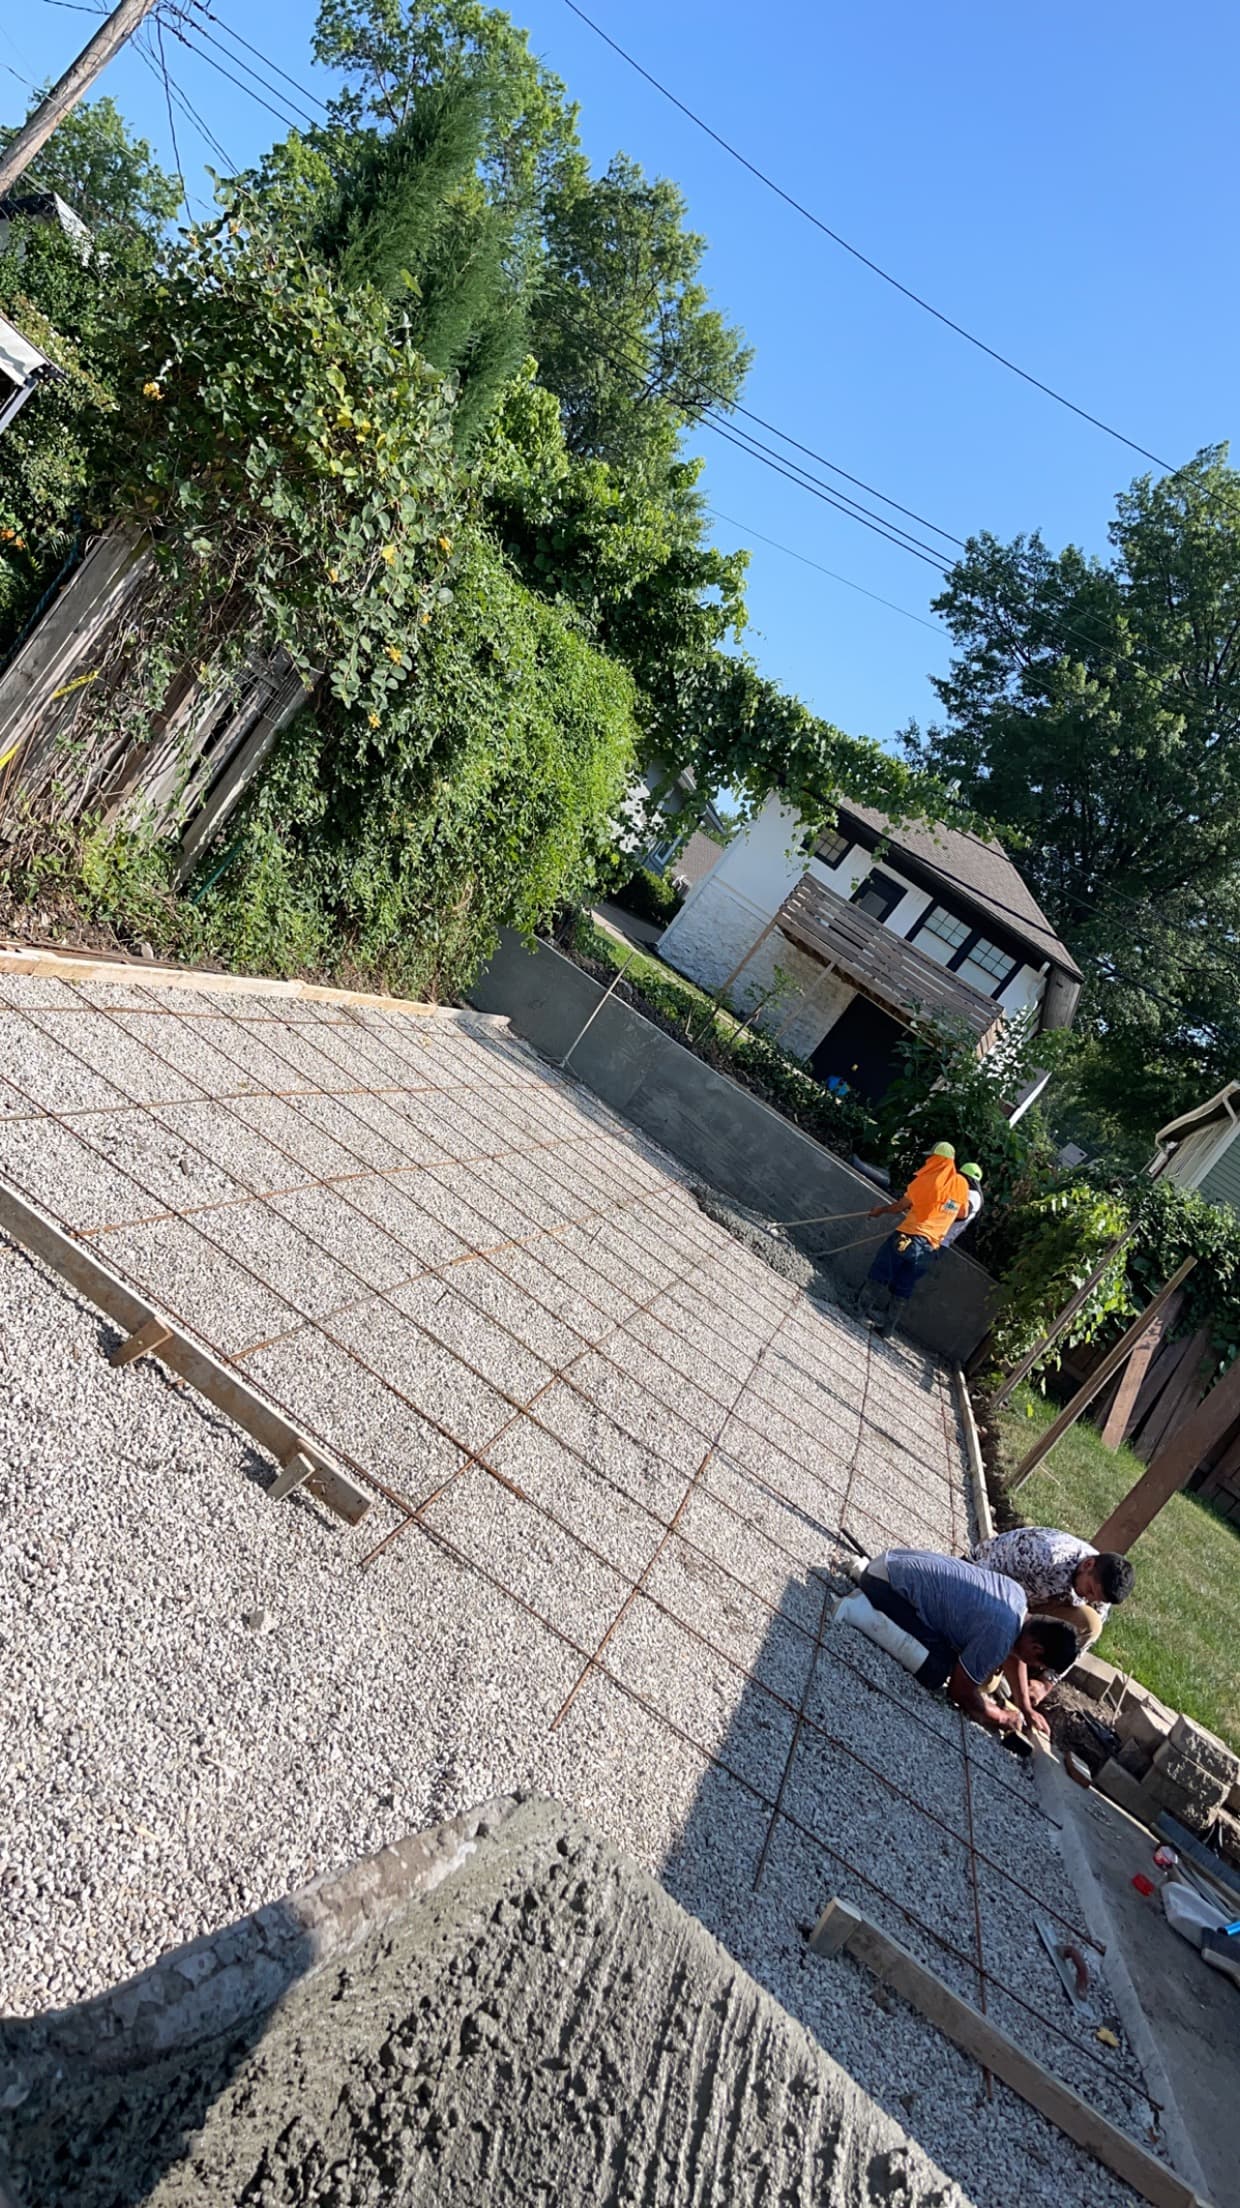
Driveway Reinforcement
A rebar grid over the compacted base for the driveway itself, tied in place ahead of the pour.
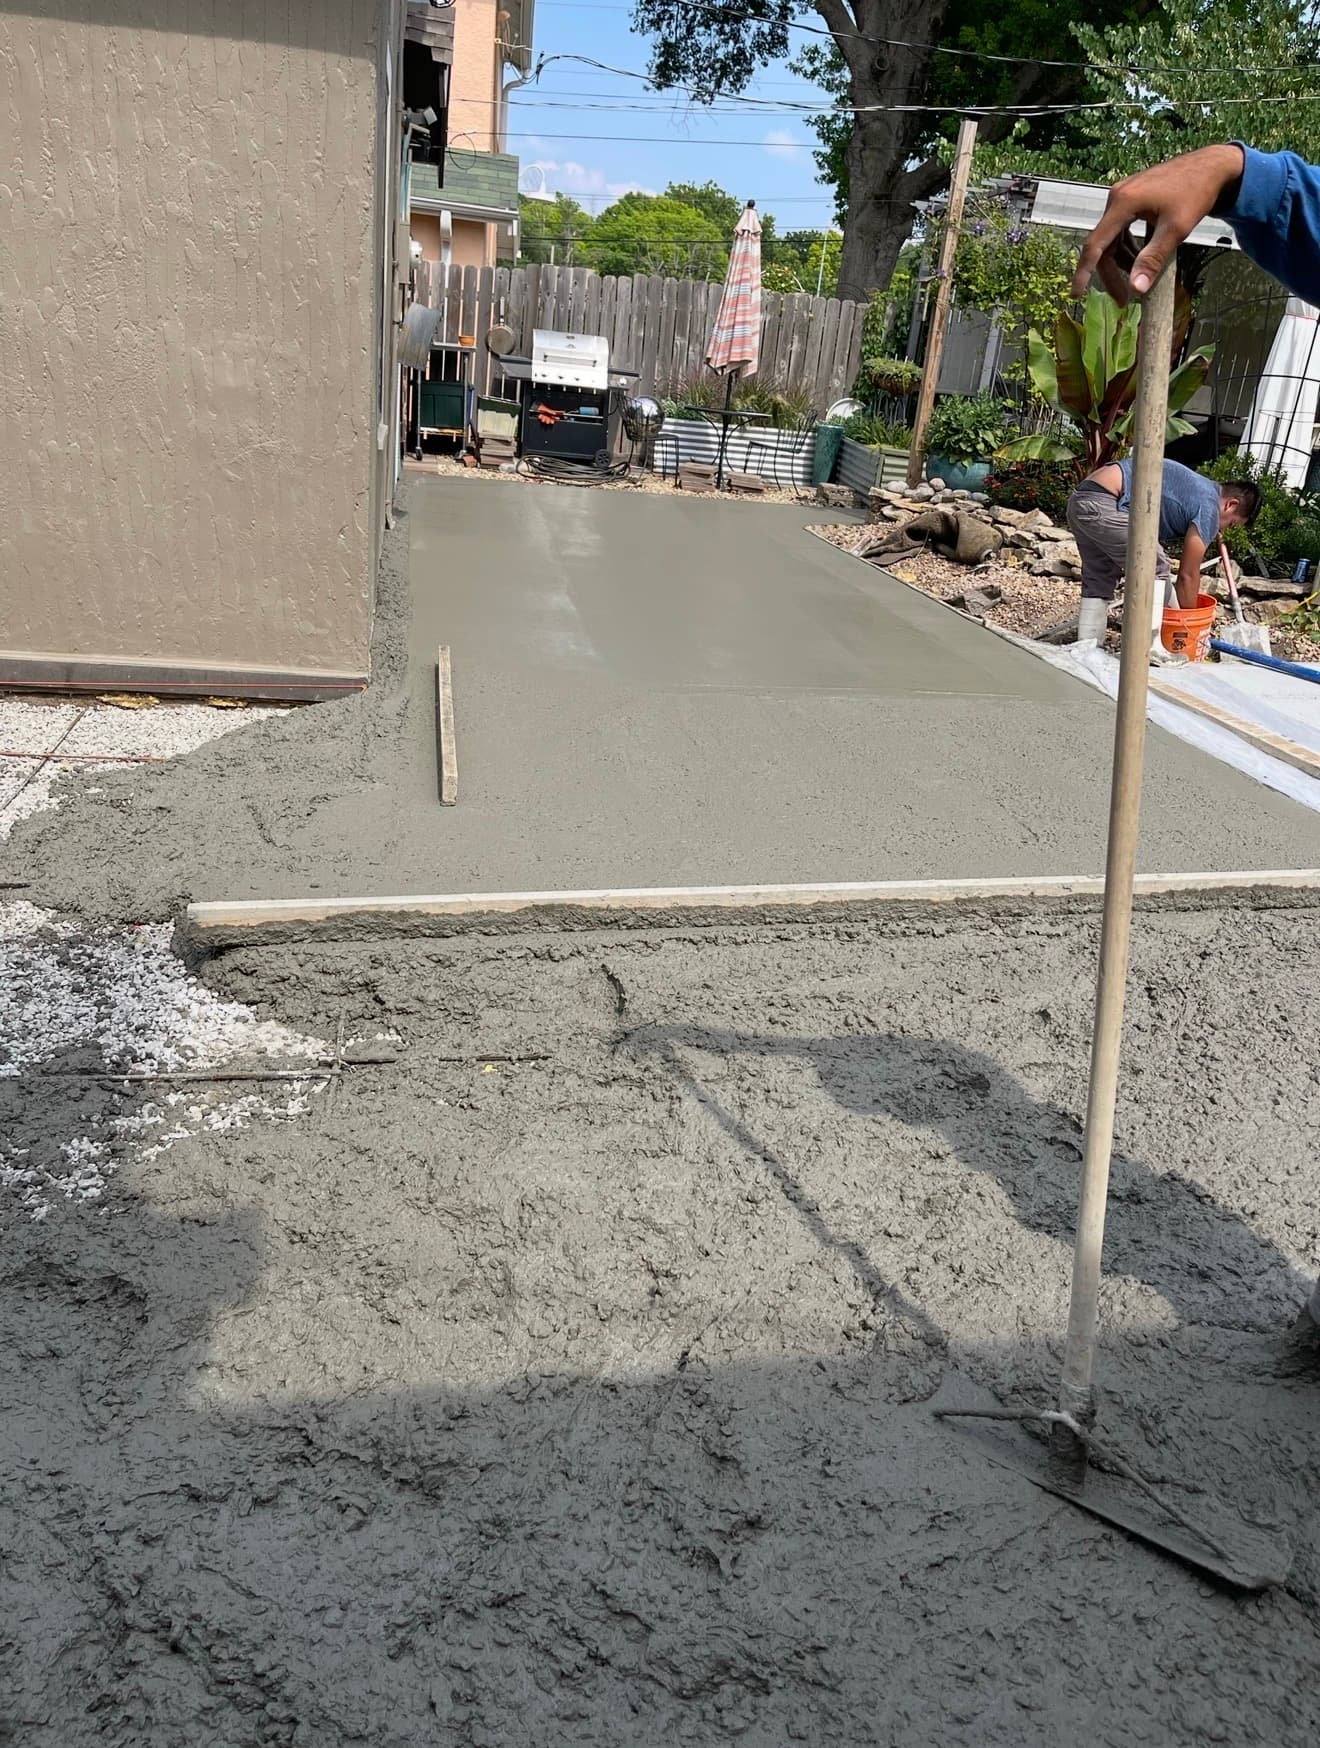
Concrete Placement
Concrete placed and finished in controlled phases, not one continuous pour, so elevations and the water path could be checked as the work advanced.
Craftsmanship
The detail work at the stoop
The rebuilt stoop had to tie cleanly into an existing structure that wasn't going anywhere — the transition, the edge, and the finish all had to read as one surface, not a patch.
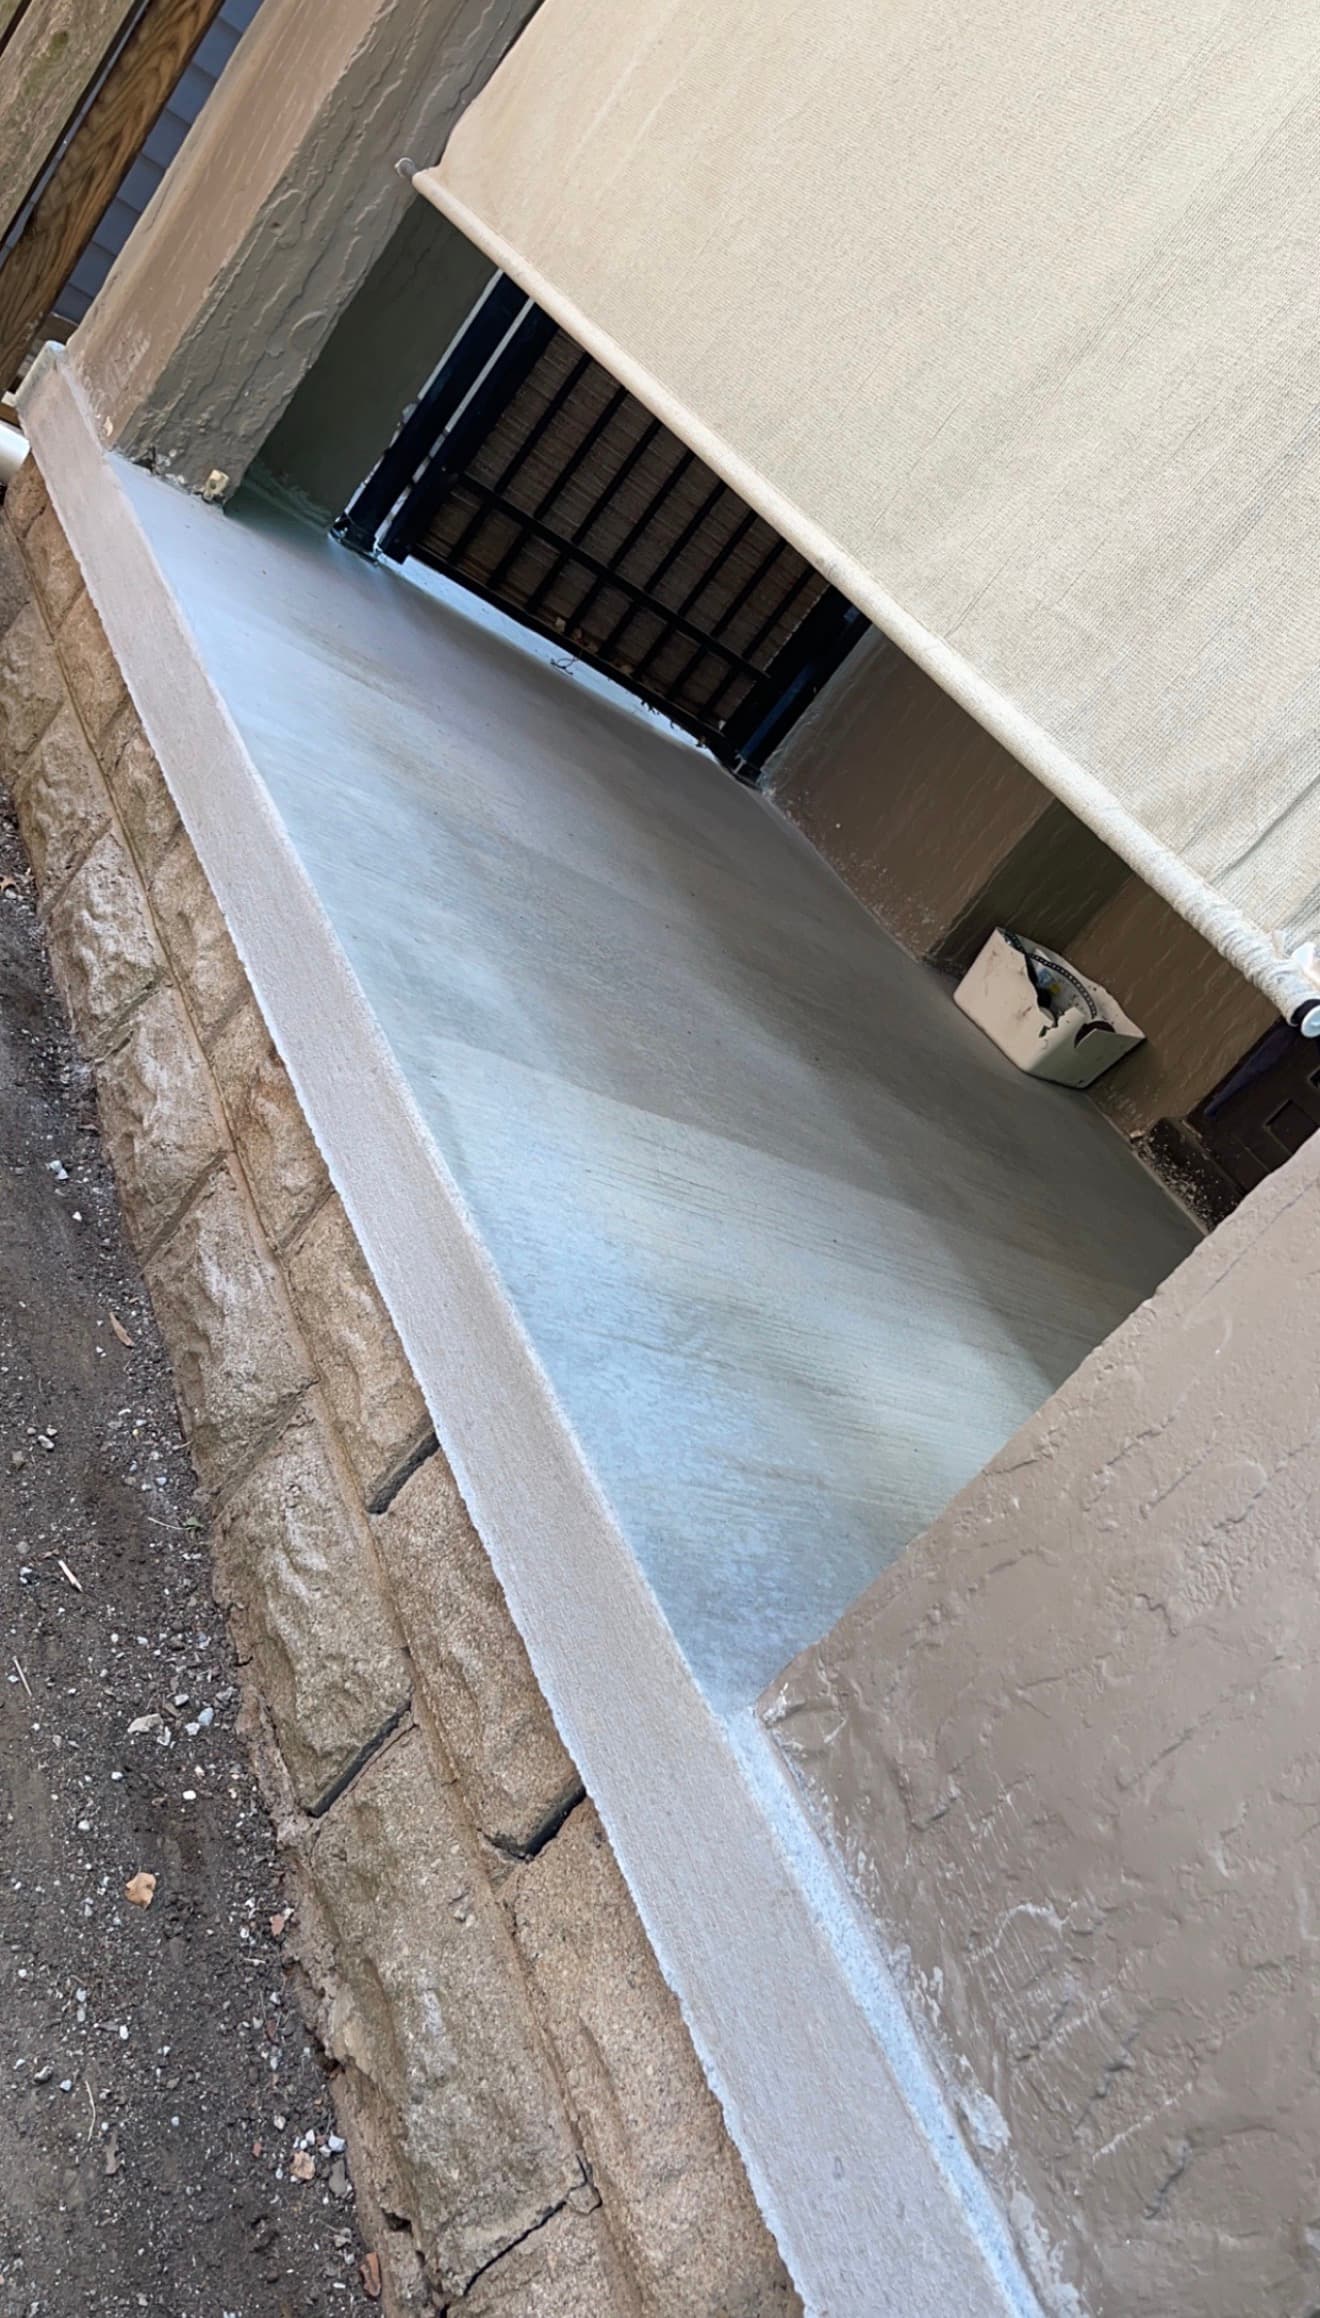
Functional Verification
Designed. Built. Verified.
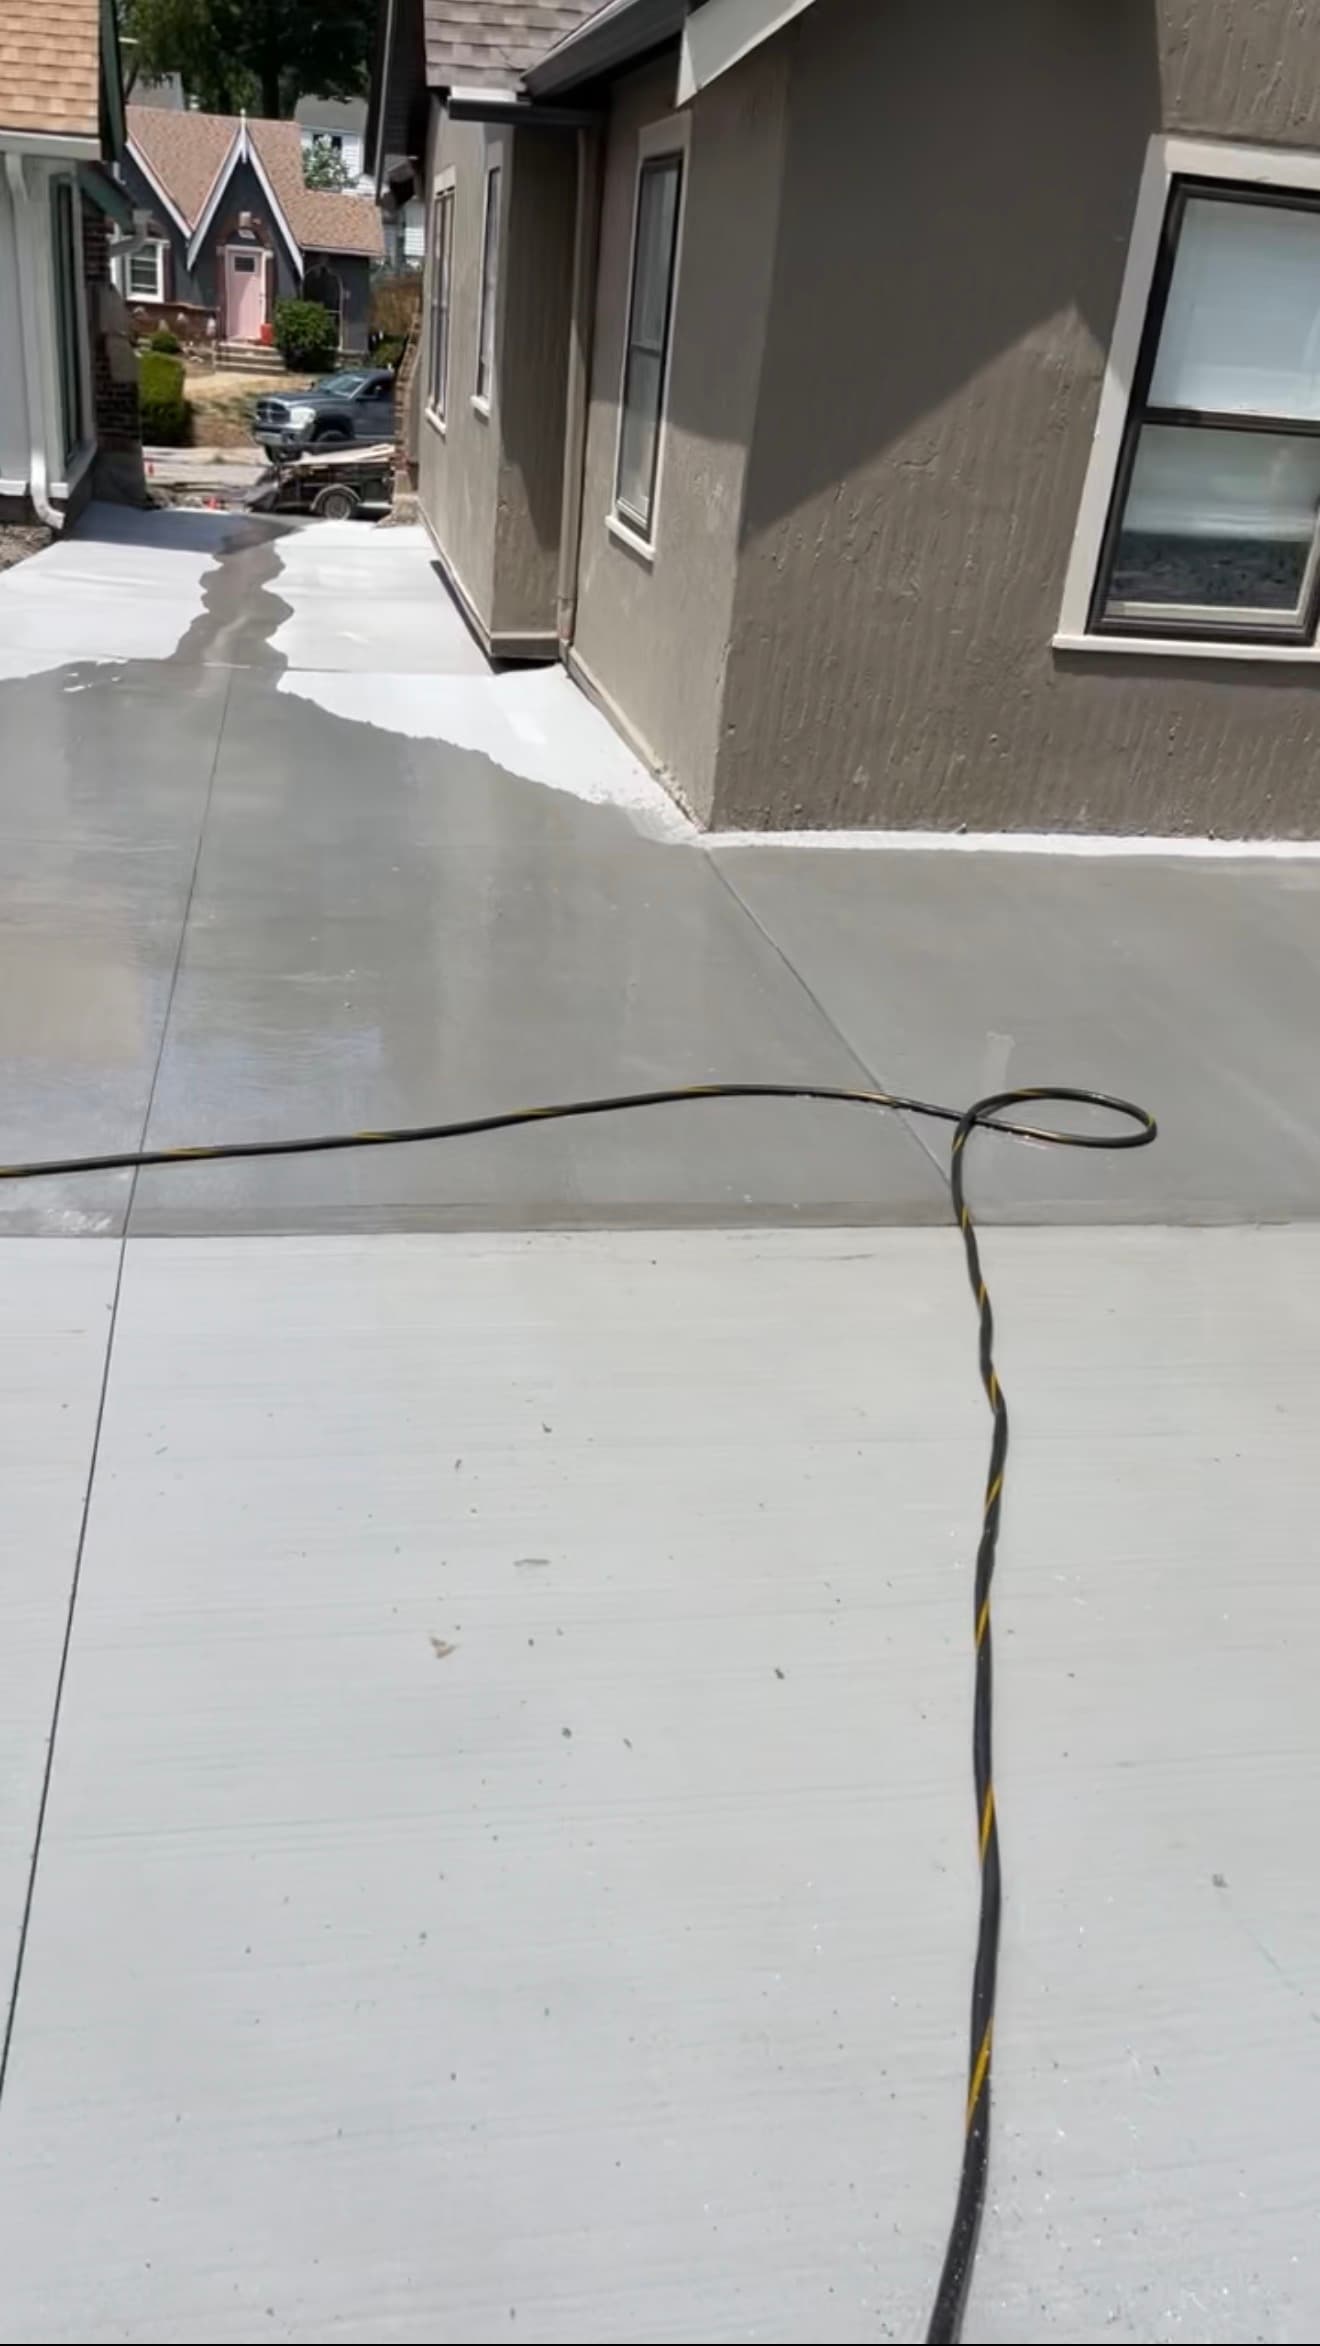
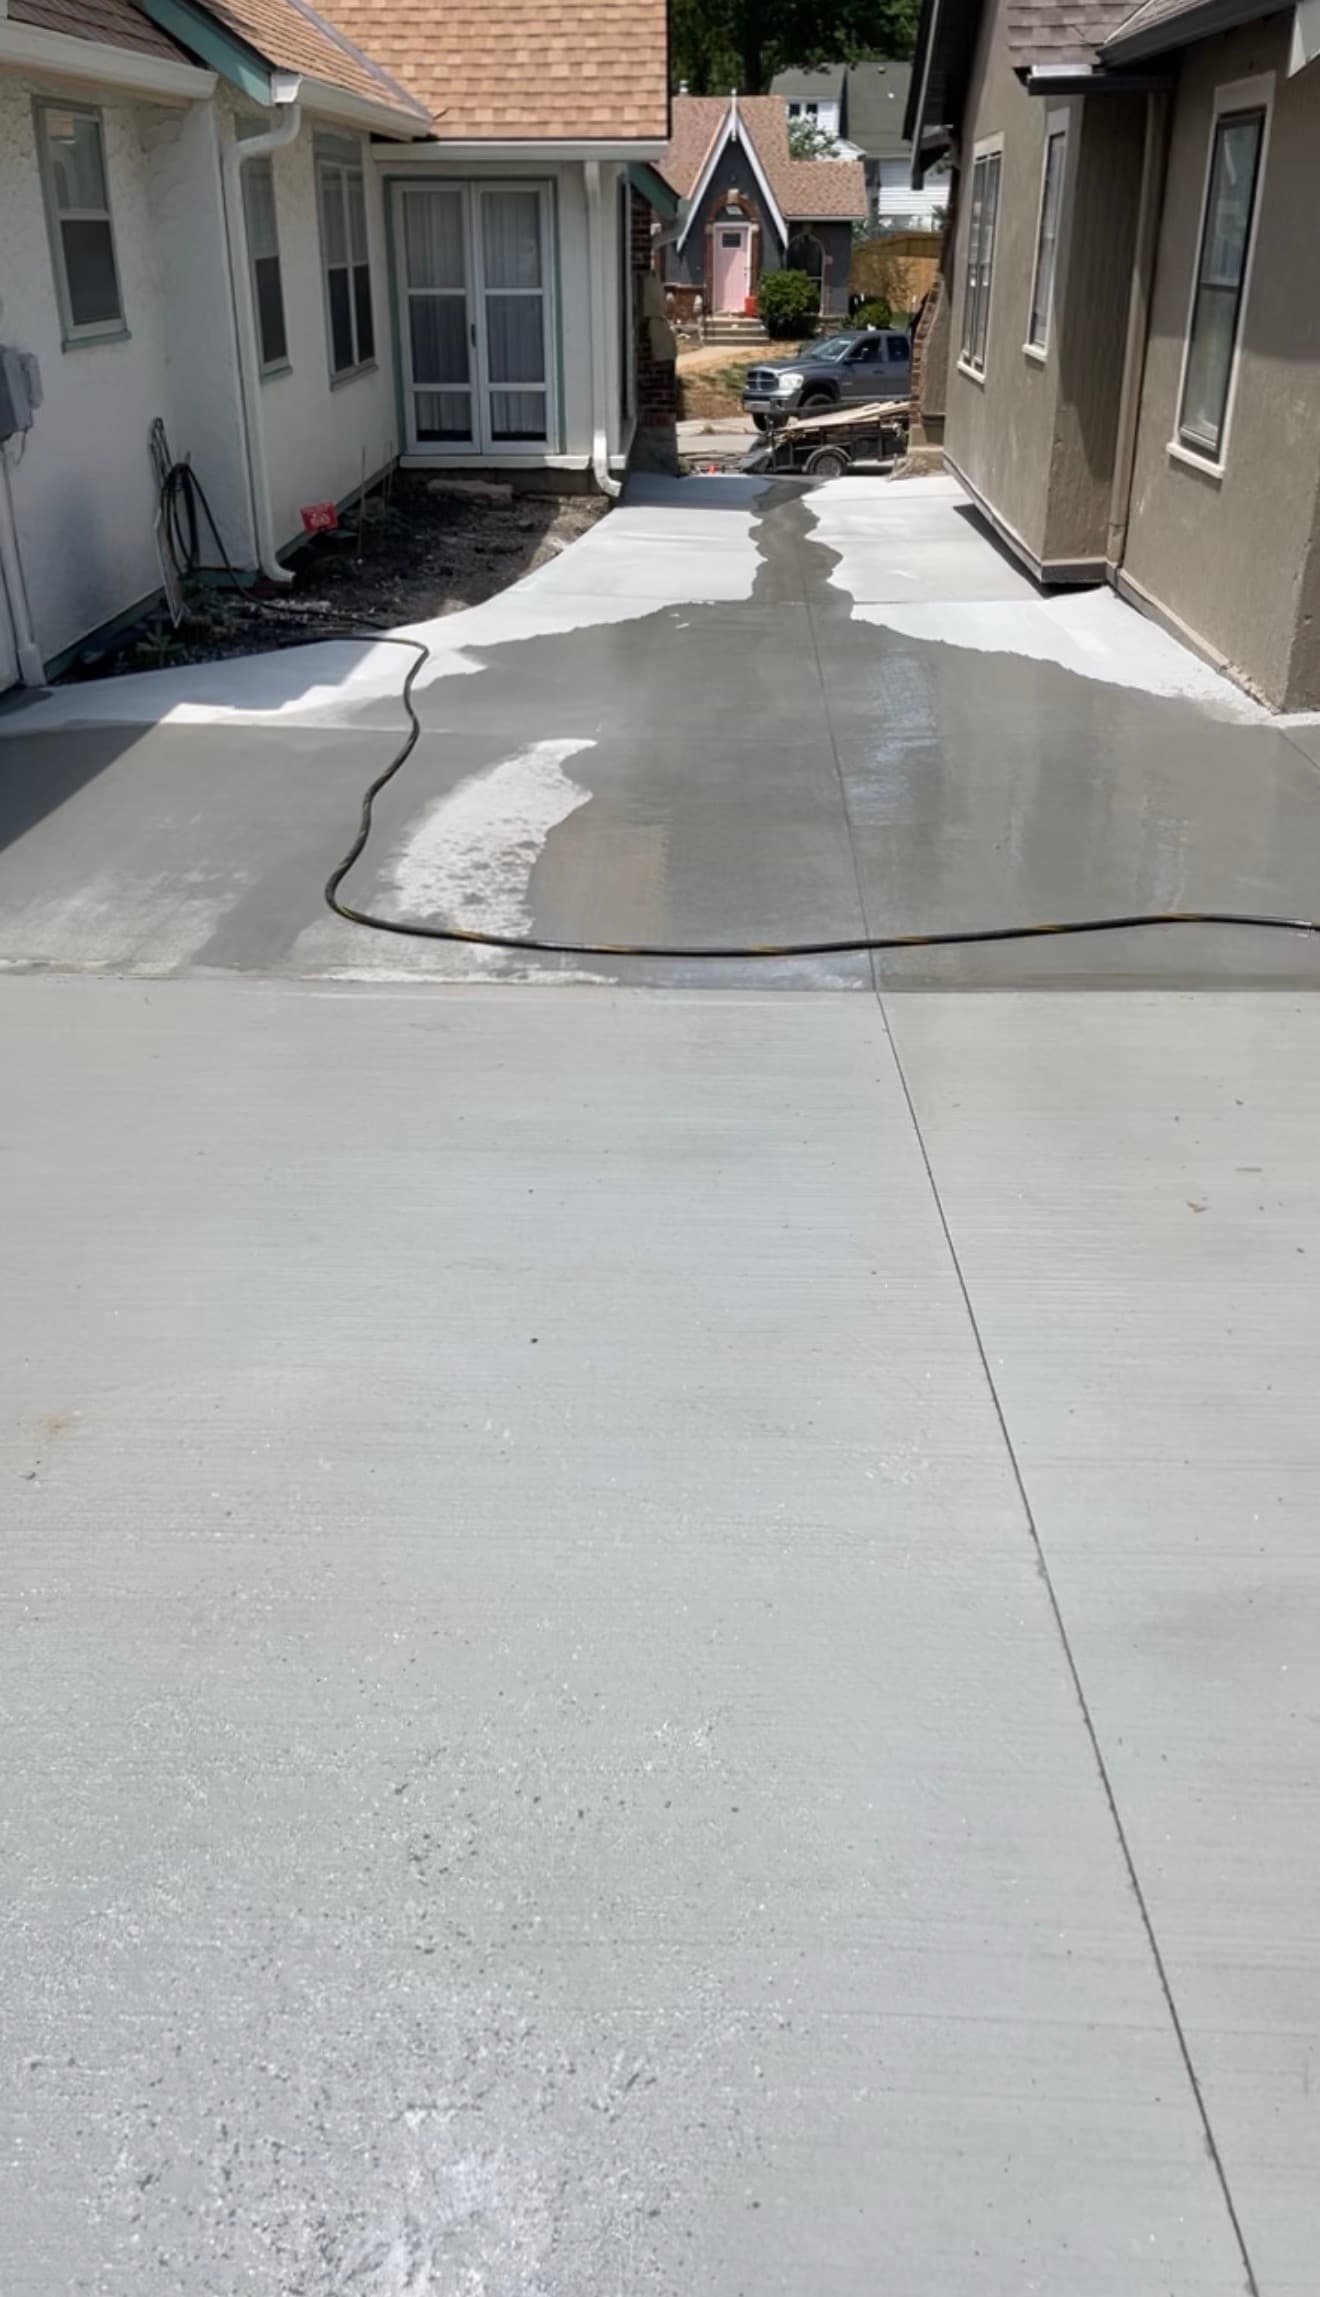
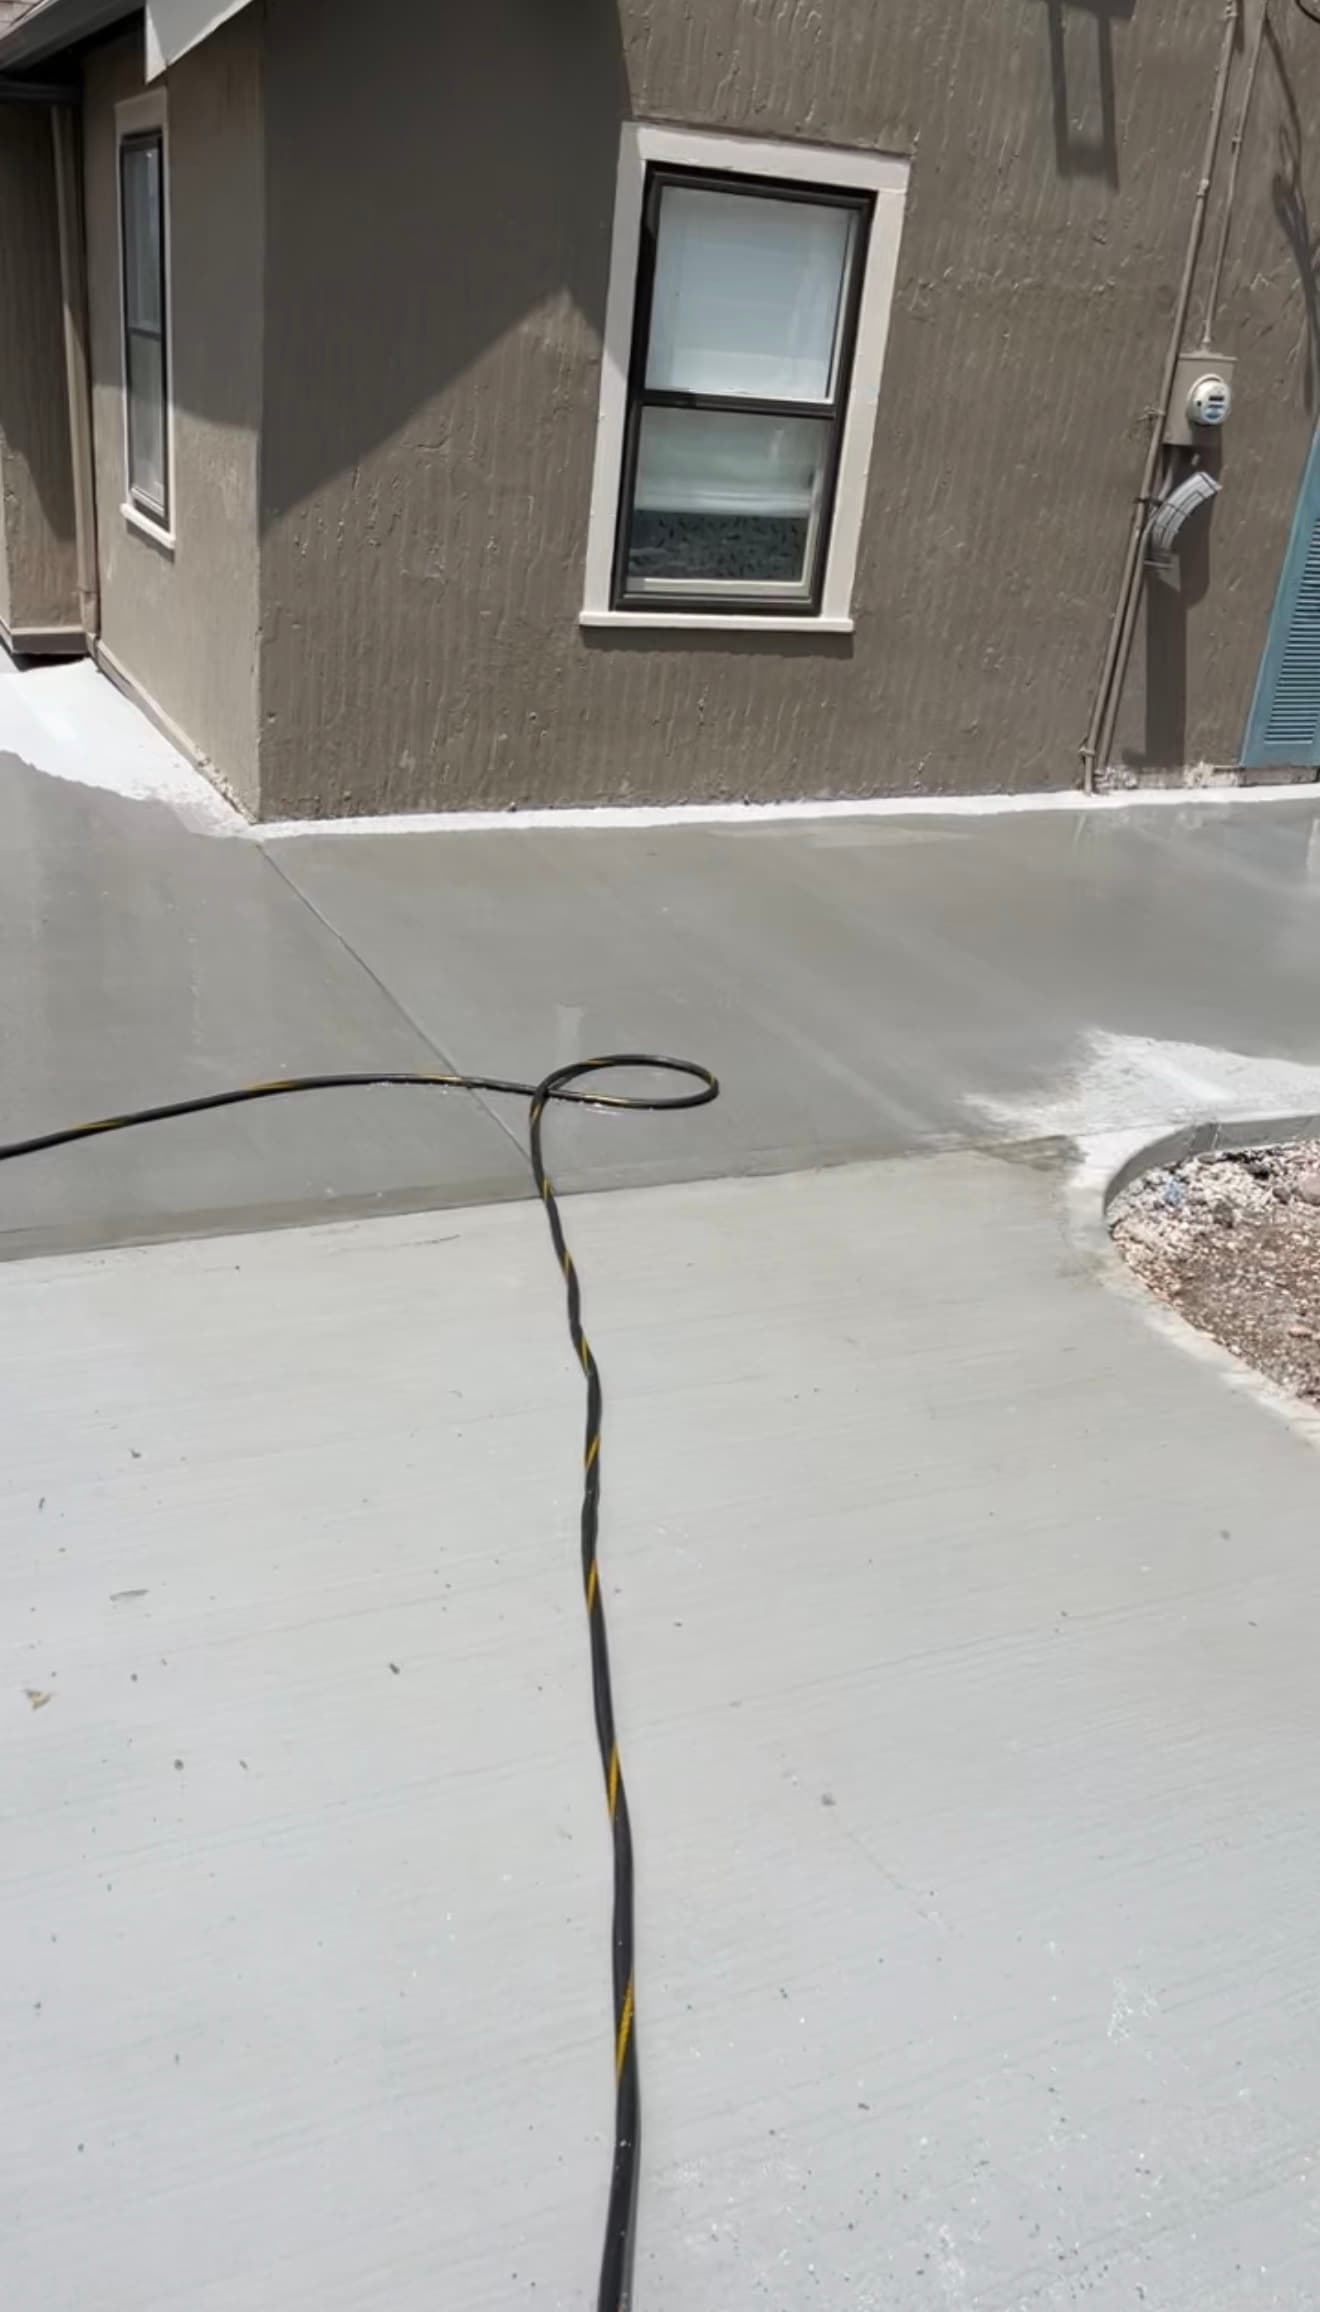
A finished surface can look right and still fail at the one thing it was built to do. Once the driveway was complete, RK didn't assume the slopes worked — water was introduced onto the finished concrete to watch where it actually went. The test confirmed what the plan called for: water stayed off the foundations, moved toward the center of the driveway, followed the designed path, and left the site toward the street.
The Finished Driveway
One surface, two homes
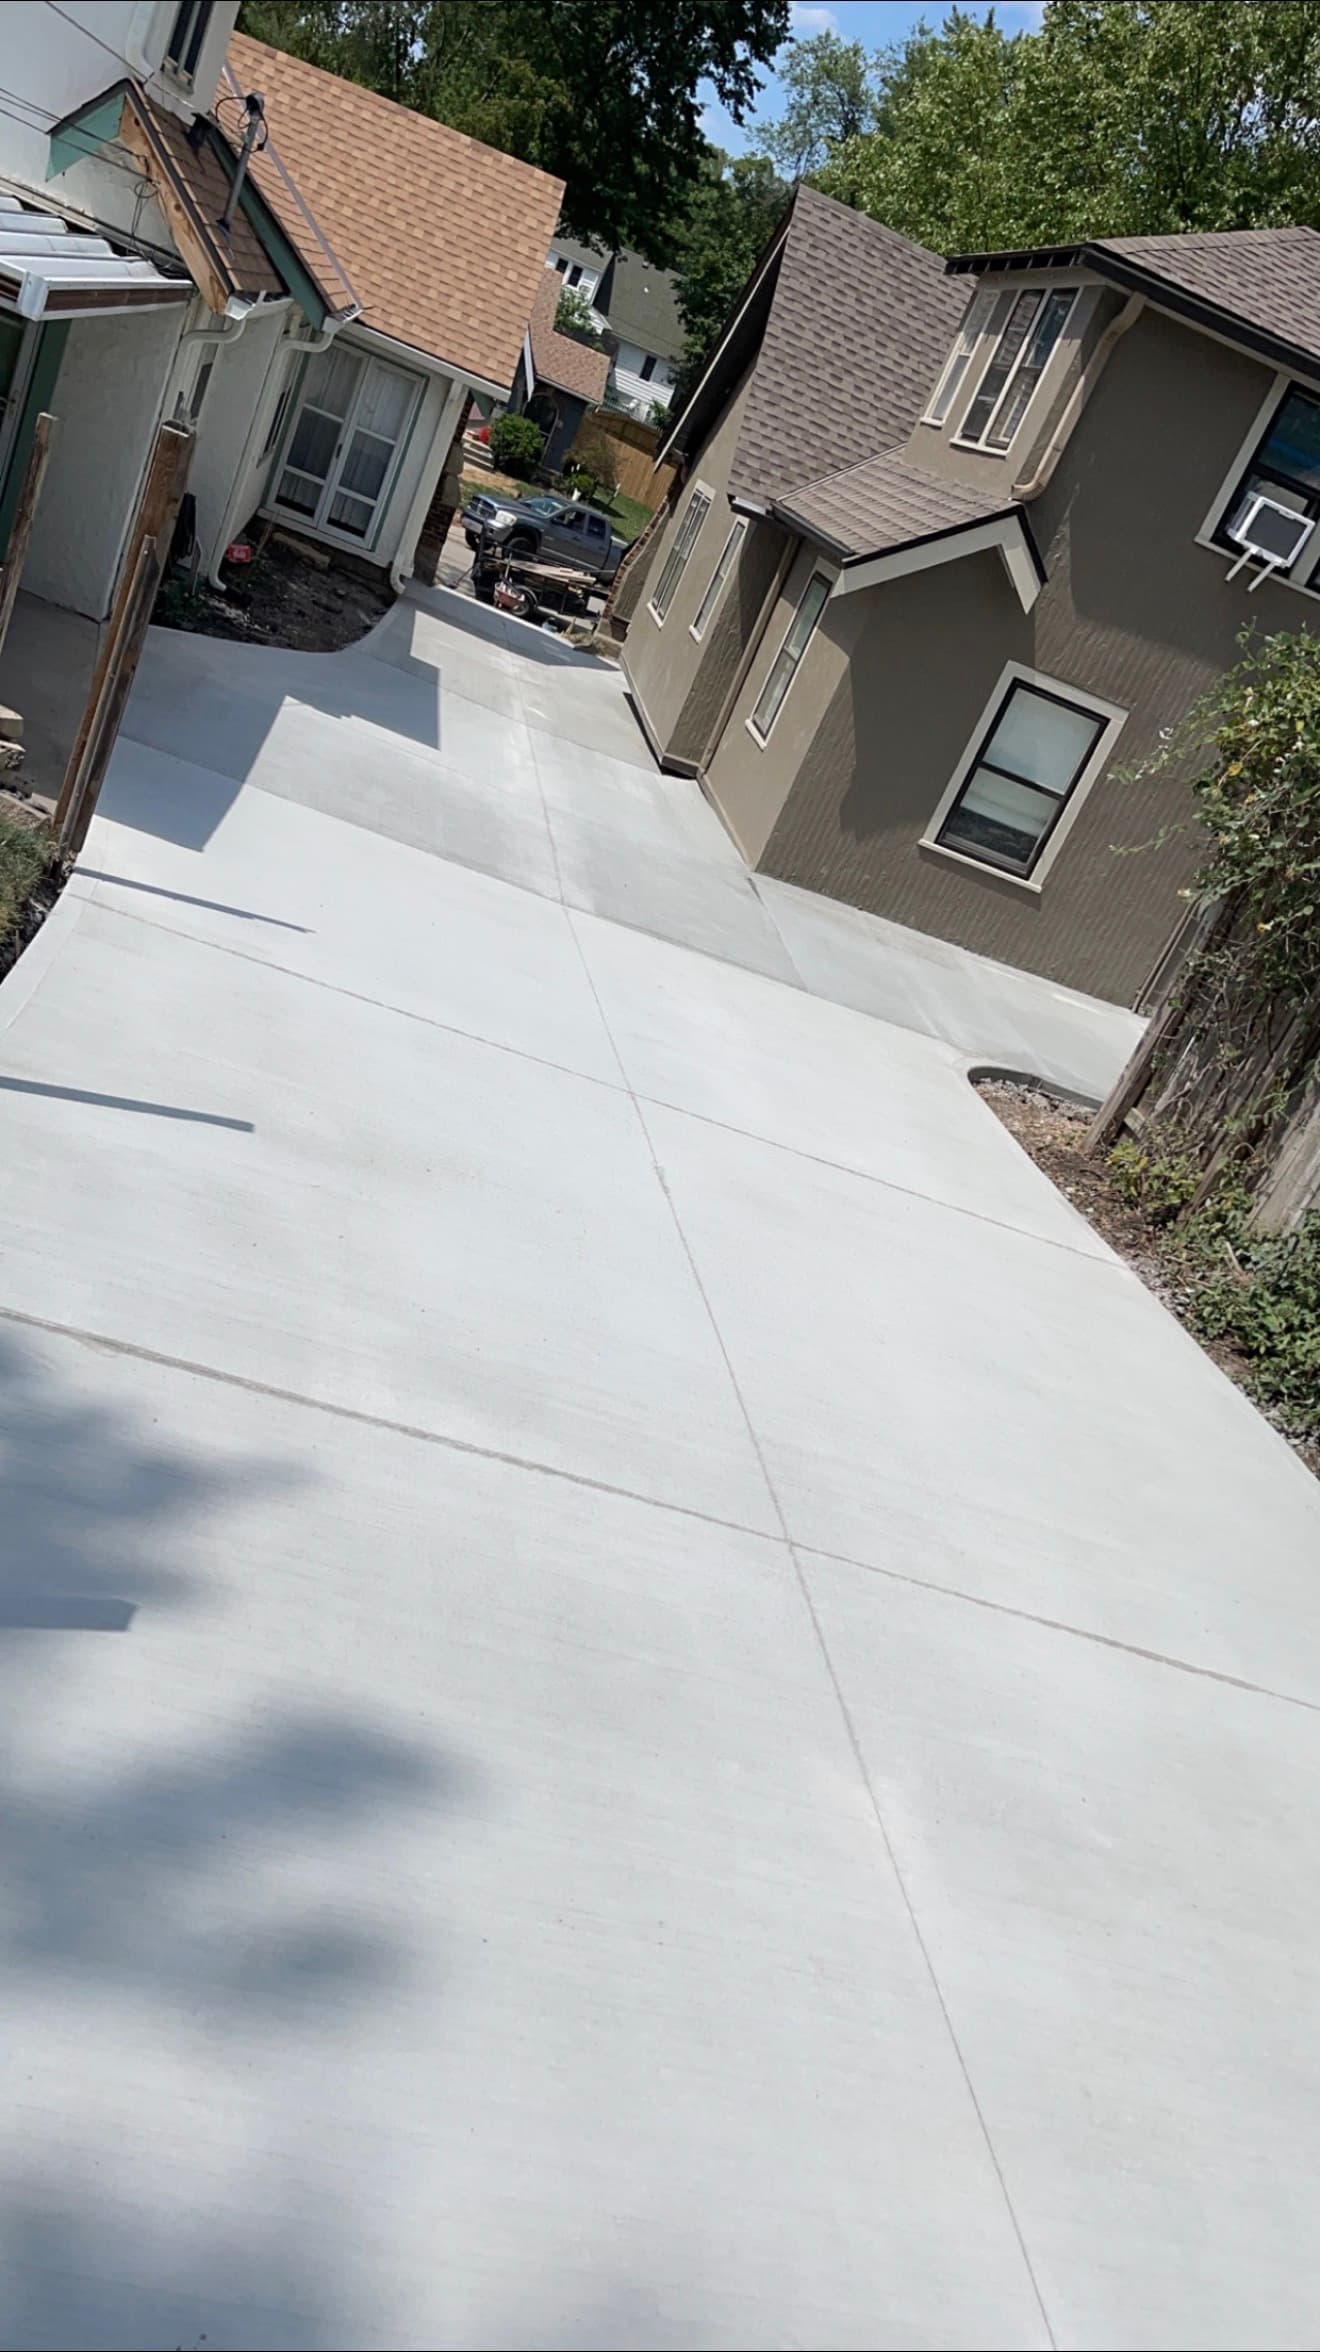
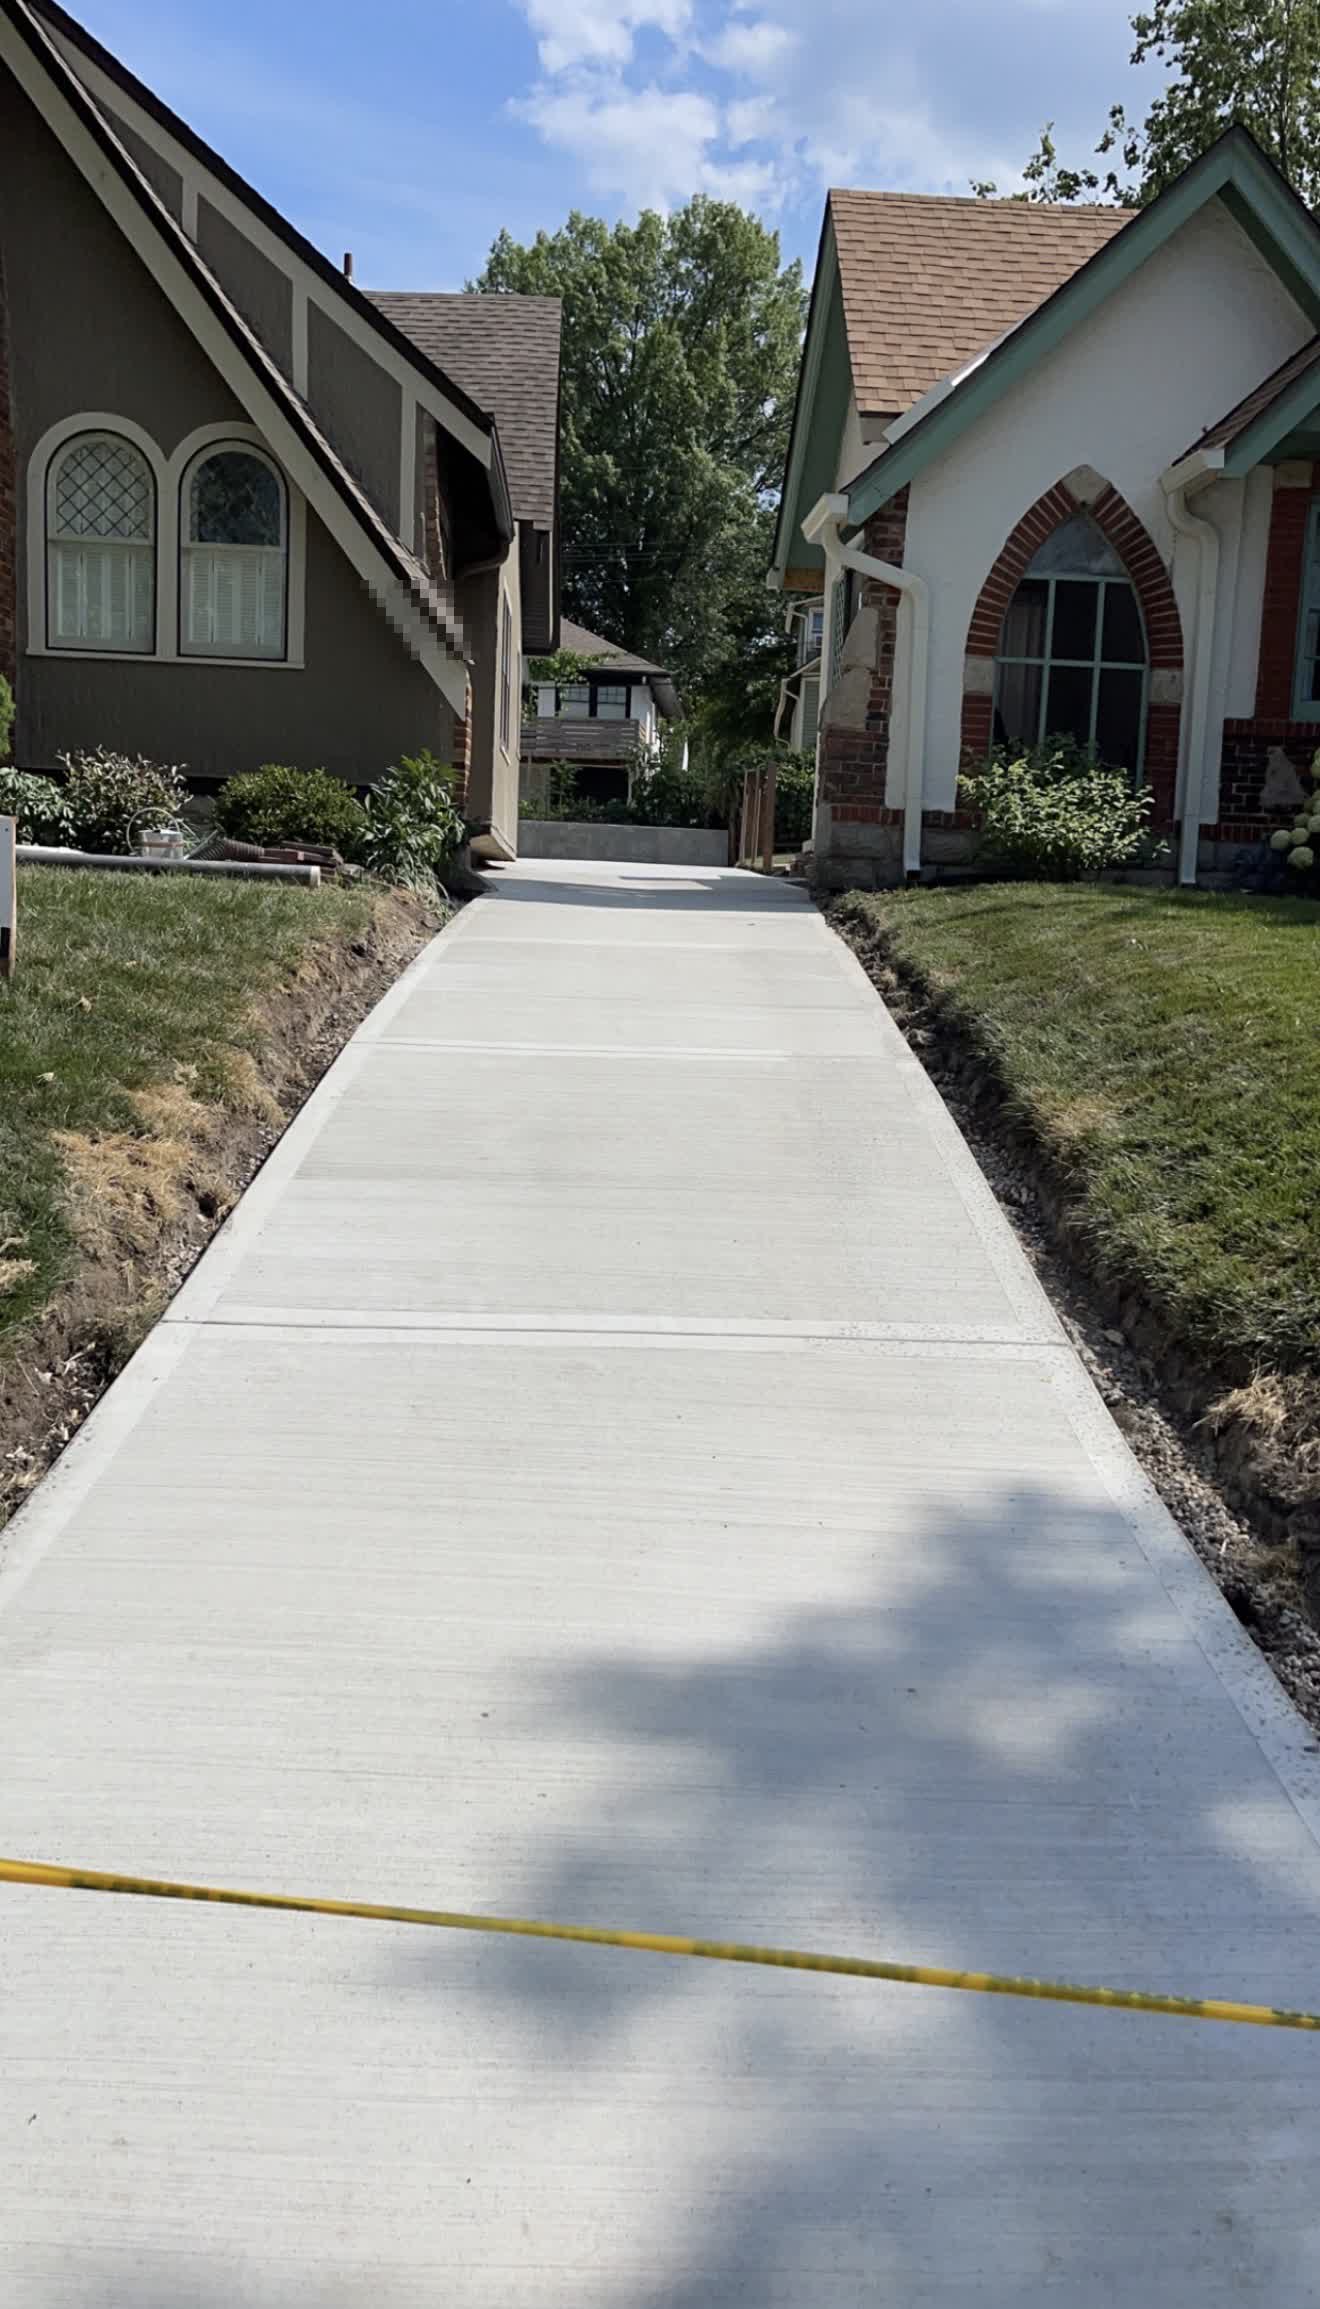
The deteriorated shared driveway is gone. In its place: a unified concrete surface between both homes, a retaining wall containing the yard, a rebuilt stoop, and the drainage route the whole plan was built around.
What Rita Said
Rita Paul's review
“RK Concrete listened to us and helped formulate a plan that was visually attractive and also channeled water away from our 1929 foundations. Their price was reasonable for the large project of tearing out the crumbling old shared driveway and replacing it with a carefully crafted surface, designed to protect our old foundations. Aaron and Paola were professional and thorough. I would highly recommend them.”
— Rita Paul, Google review, 5 stars
Let's talk about your project.
A short conversation, a site visit, and a written Work Scope — that's it. No deposit, no pressure, and the estimate itself is free.
Or request it online